Make a Basekamp extension in a container
Updated 9moUpdated 10 months ago
Construction
In Progress
ToolBuilding
More Information
What do we need?
Created 2yCreated almost 3 years ago
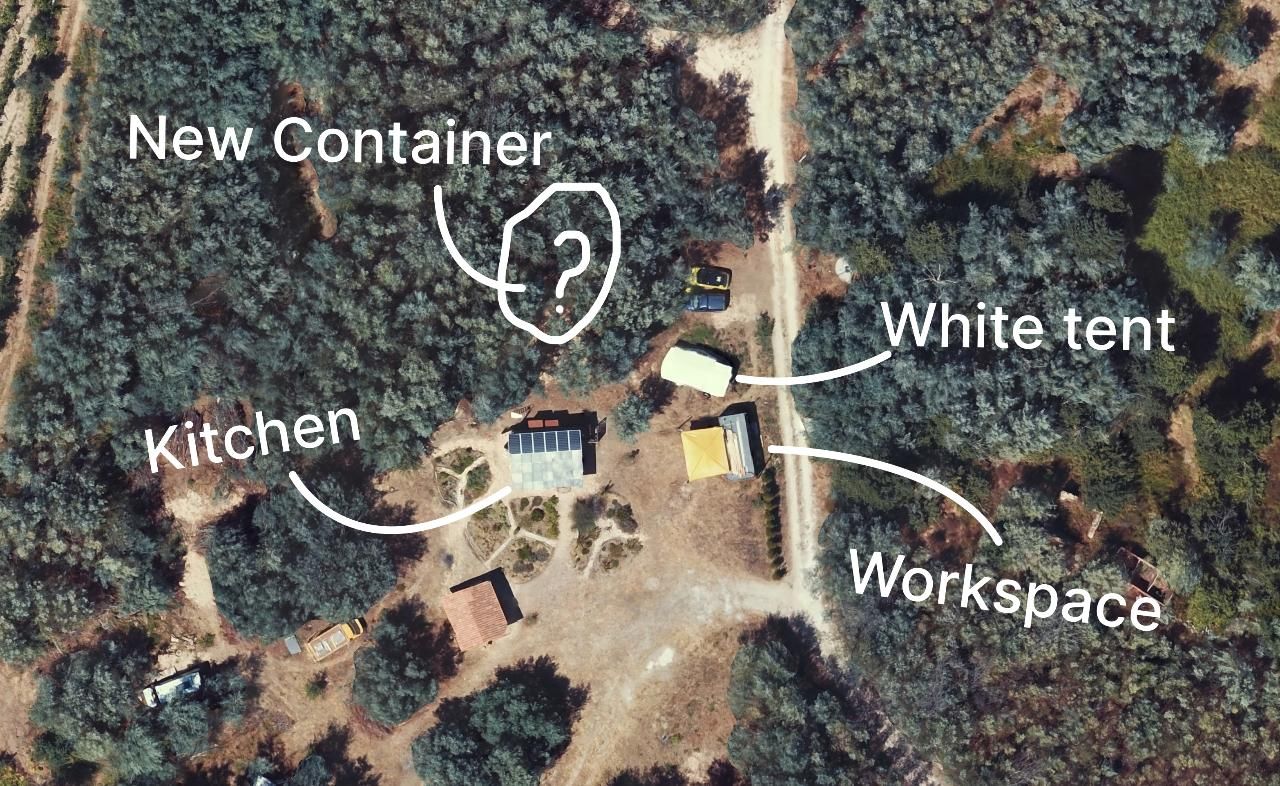
Currently Basekamp has one container for our kitchen, washing machine and electronics. The other one is our workspace with tools and we have a white tent to store random things. Containers are great but the tent is falling apart, not water proof anymore (it was already a few years old when we got it) And its simply getting too small to keep everything dry. In the last 2 years being here our collection of garden tools has grown. Chainsaw, brushcutters, shovels, ho’s etc.
And we never had a good place for storing seasonal things like tents that we take down in the winter, a stock of workspace consumables like screws but also a larger amount of bulk food that doest fit in the kitchen. We could also use more dry spaces to store our (leftover) materials and waste system. This can be outside but needs a dry roof.
So all of the above would hopefully be fixed by this new place. Sounds easy.
 Loading...
Getting a shipping container
Created 2yCreated almost 3 years ago
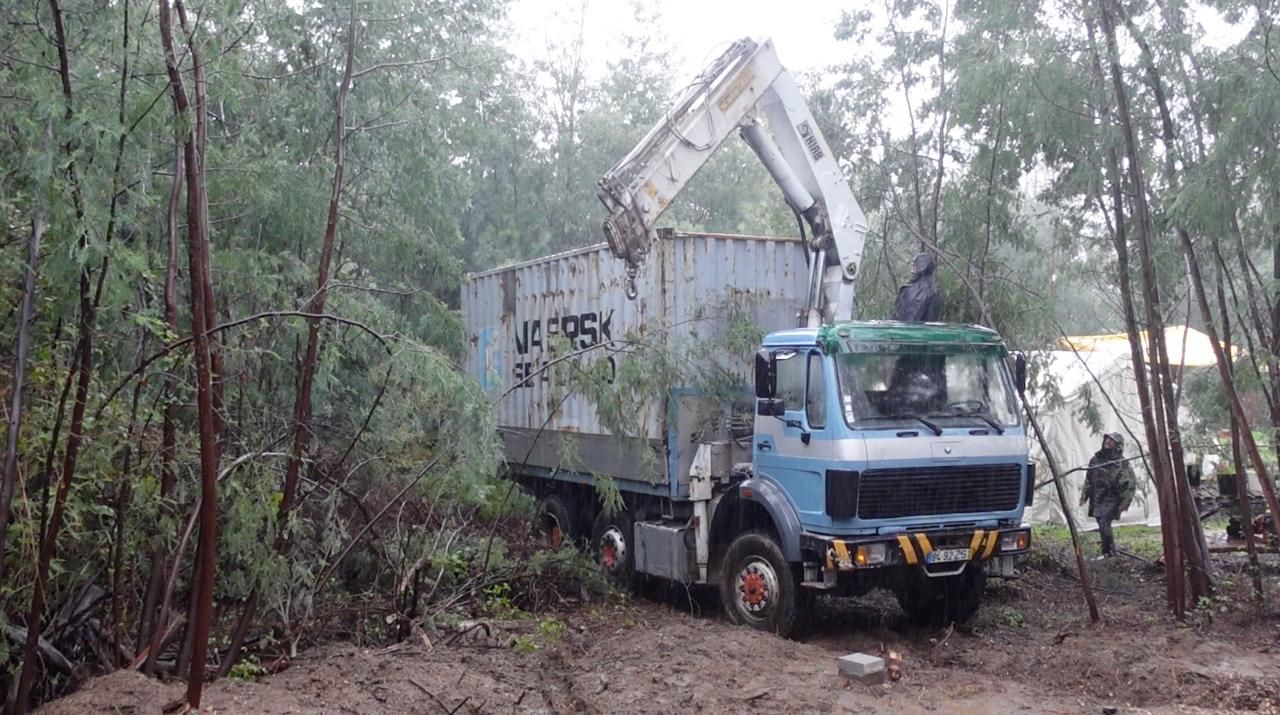
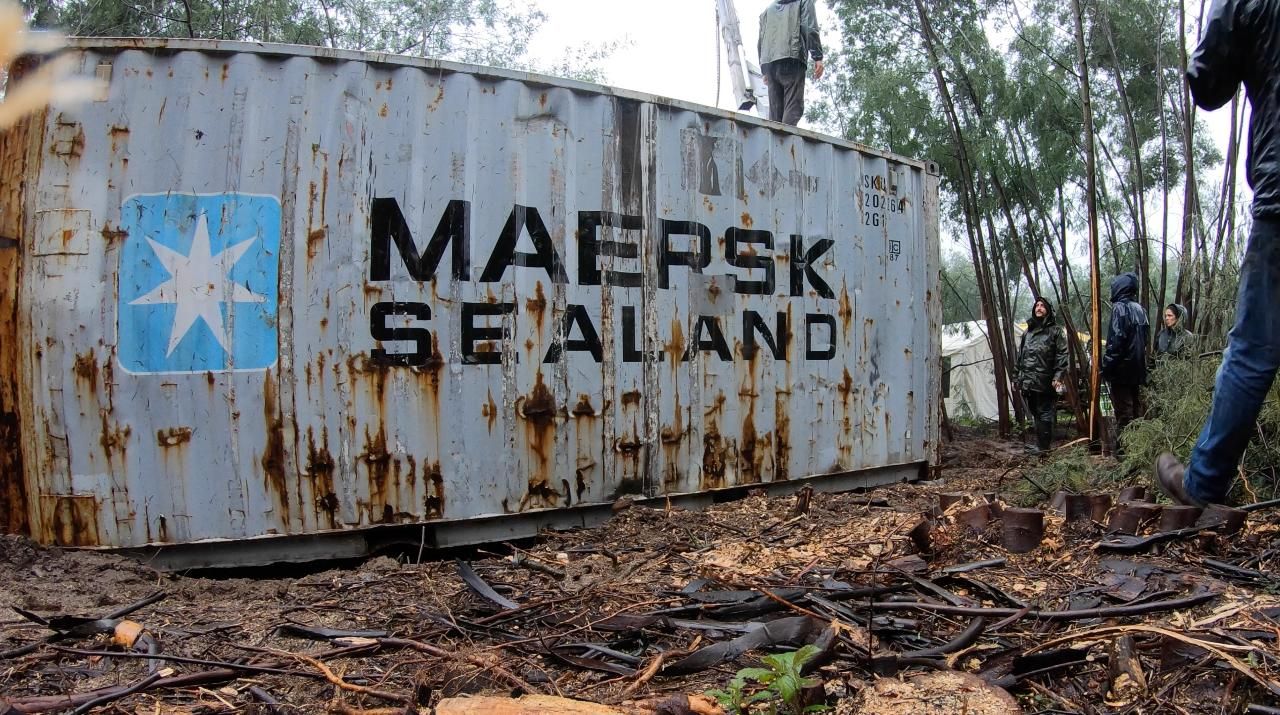
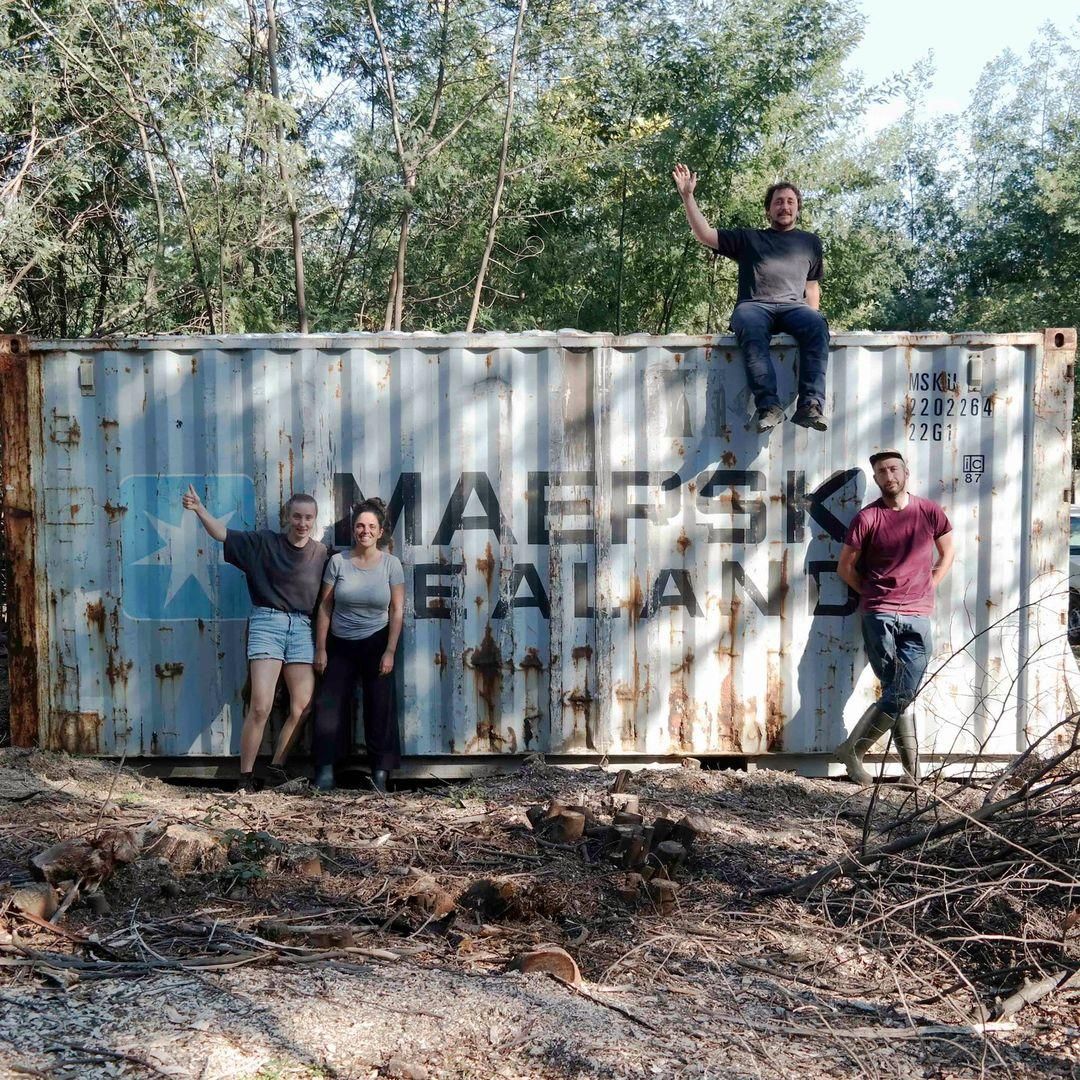
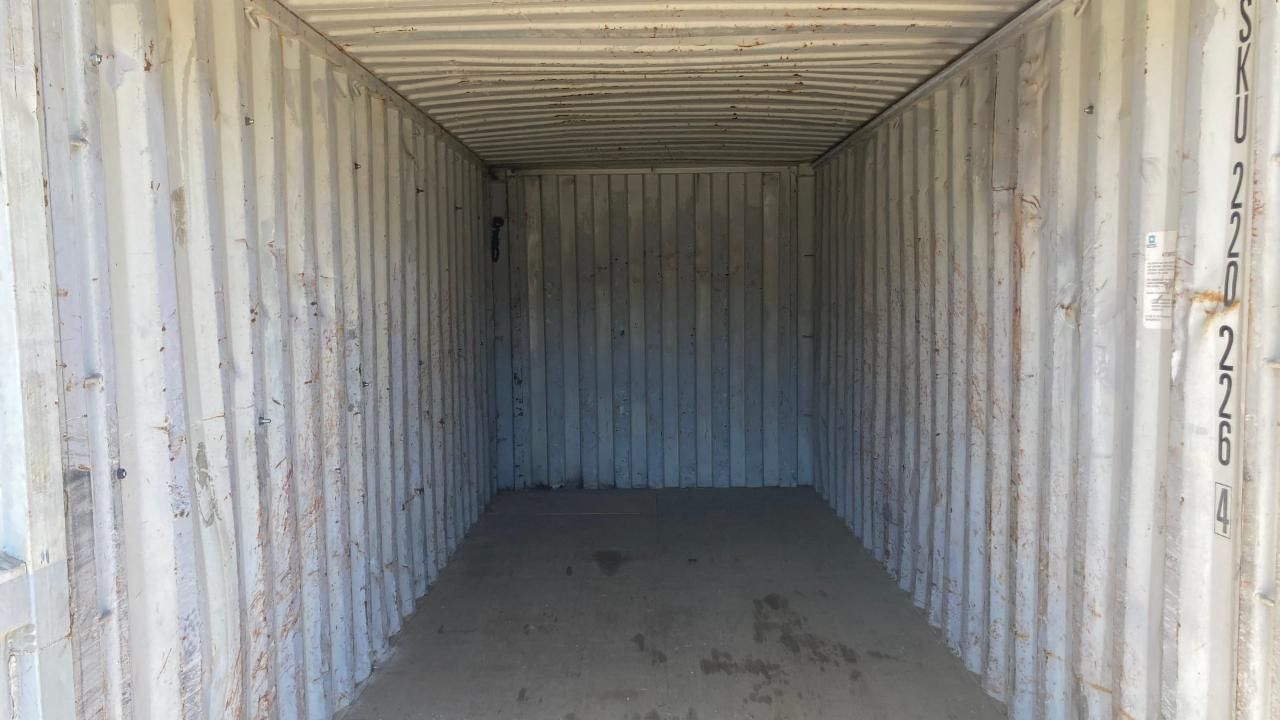
We got a “new” 20ft shipping container, same size as the others. We bought it in Spain and transported to Portugal. Total price was €3000 (€1600 with vat for the container) It got transported close to our land and then switched to a local truck with crane that would dare to drive the sketchy dirt-road to our land. The container itself is resting on 4 stone blocks that are levelled. No further foundation is made. For now we just put it there and already put some things inside. Next we will plan on what to do with the roof.
 Loading...
 Loading...
 Loading...
 Loading...
 Loading...
Designing the roof: flat vs point
Created 2yCreated almost 3 years agoUpdated 2yUpdated almost 3 years ago
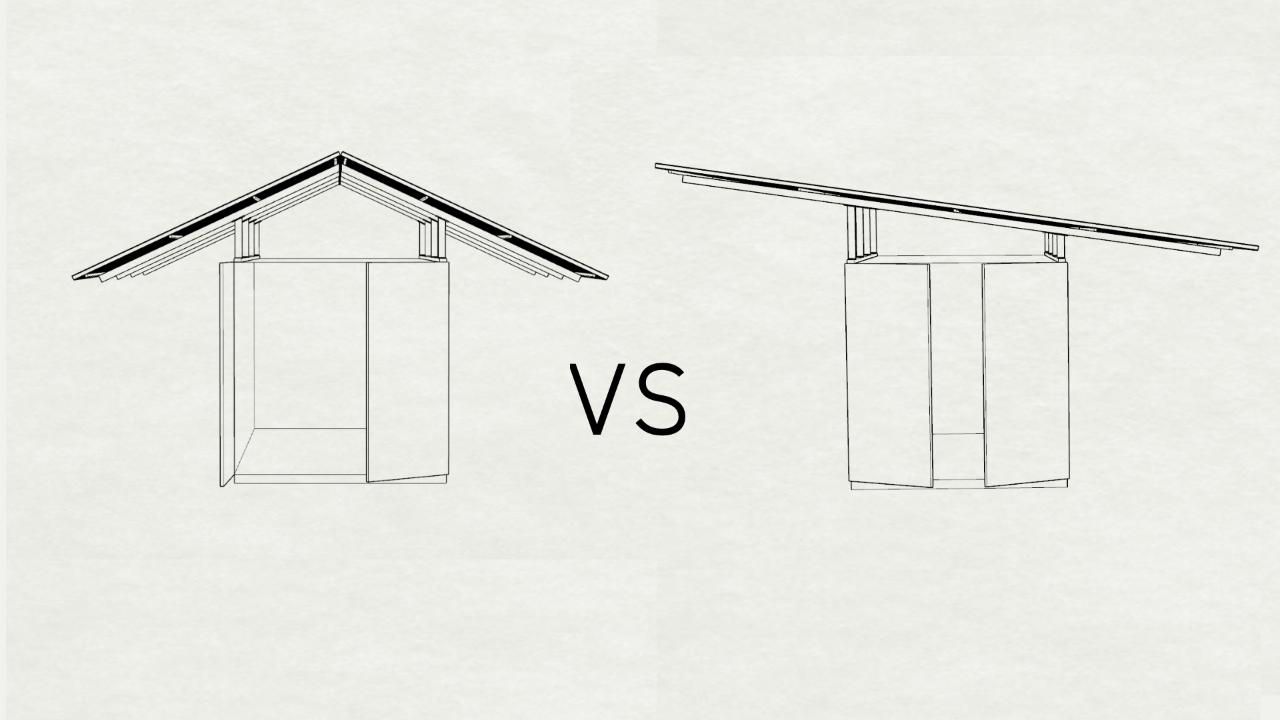
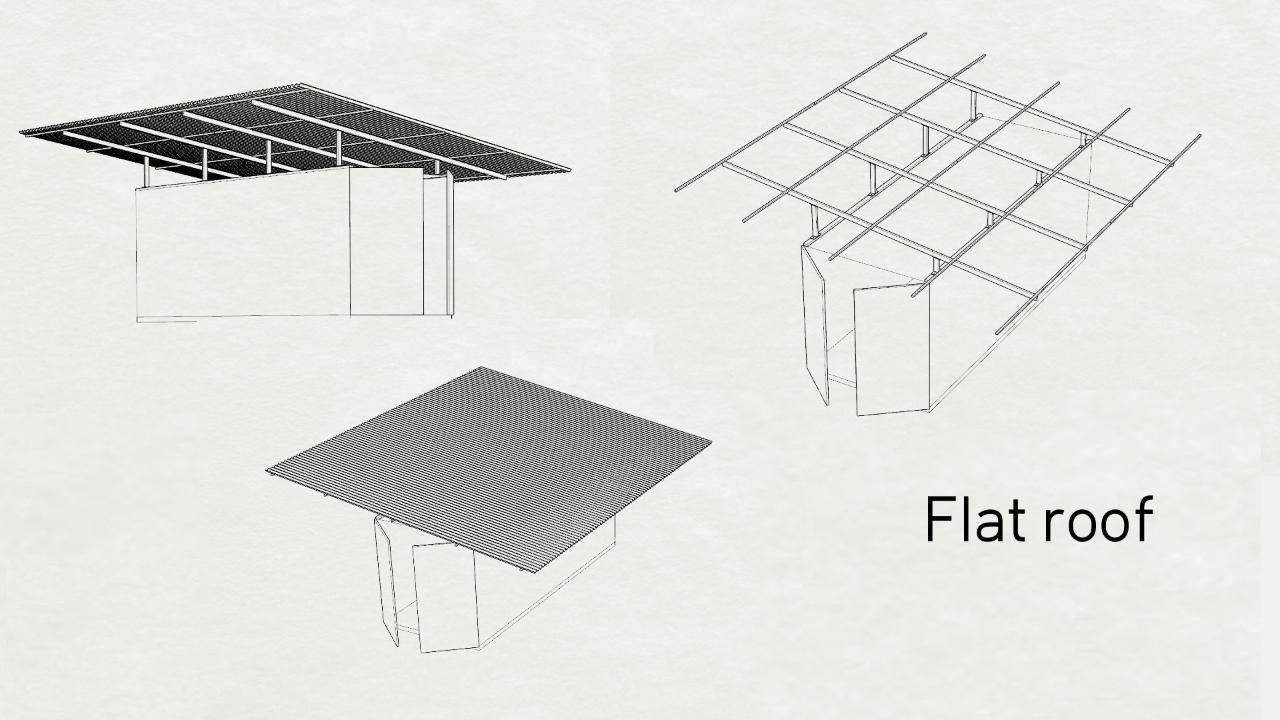
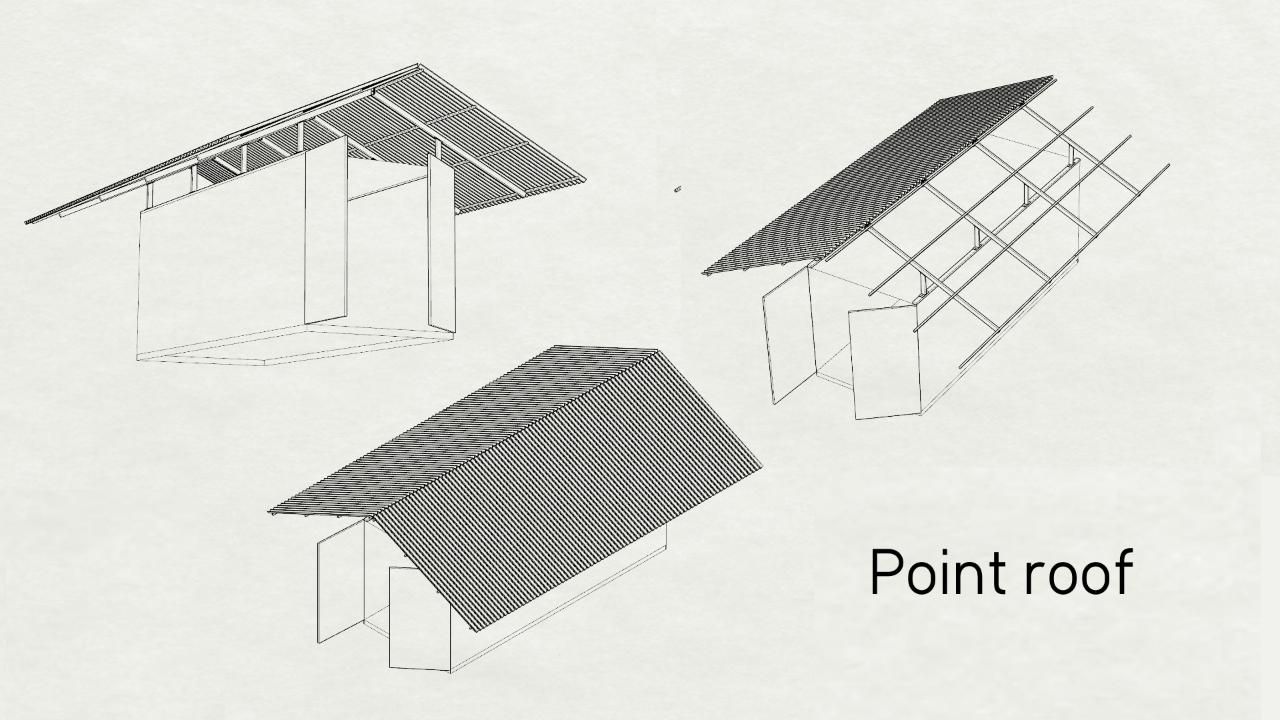
For the top of the container we want to make a very basic and industrial roof. The goal is to make it big so we have enough overhang around the container to create more dry space. The container will server as a big building block to carry the roof. We will use corrugated metal sheet to create this big dry surface. (first structure we will use this for on the land) We want to keep the structure simple to build with minimal cutting and welding and try to use full length beams. Below we made 2 different roof setups. Both are +/- 6x8 Meter surface area. We are doubting between a flat and pointy roof. One is easier to build, the other has more rain protection on the side. Let us know if you see advantages from one over the other.
 Loading...
 Loading...
 Loading...
 Loading...
Selecting the roof material
Created 2yCreated almost 3 years ago
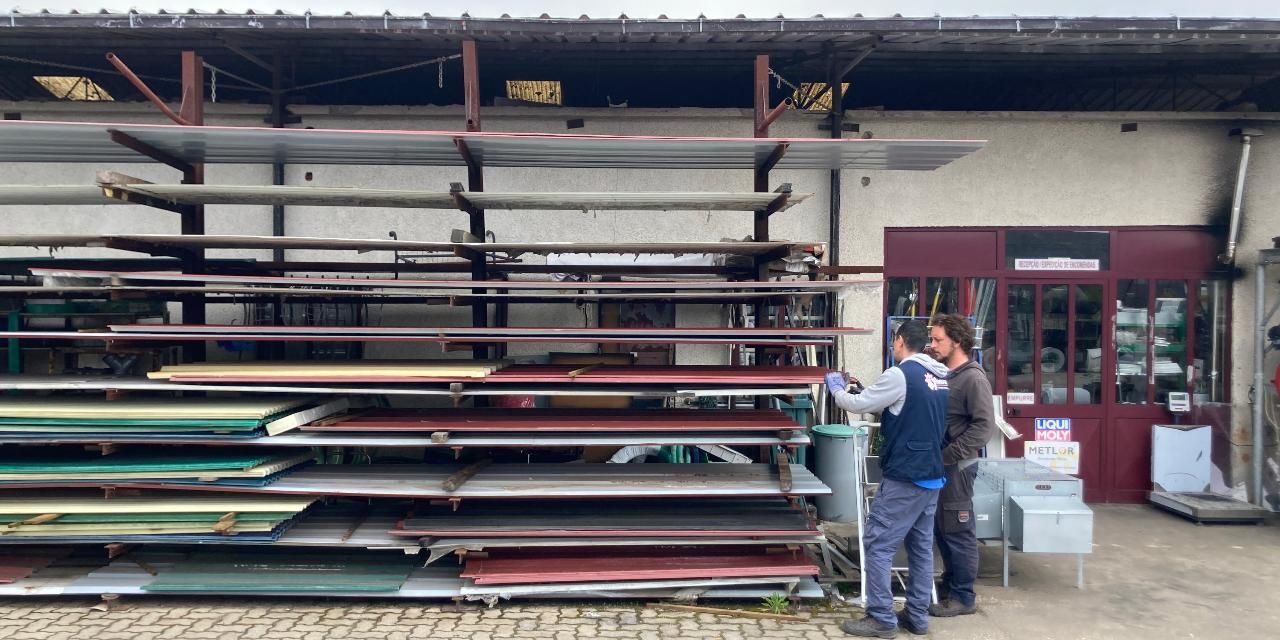
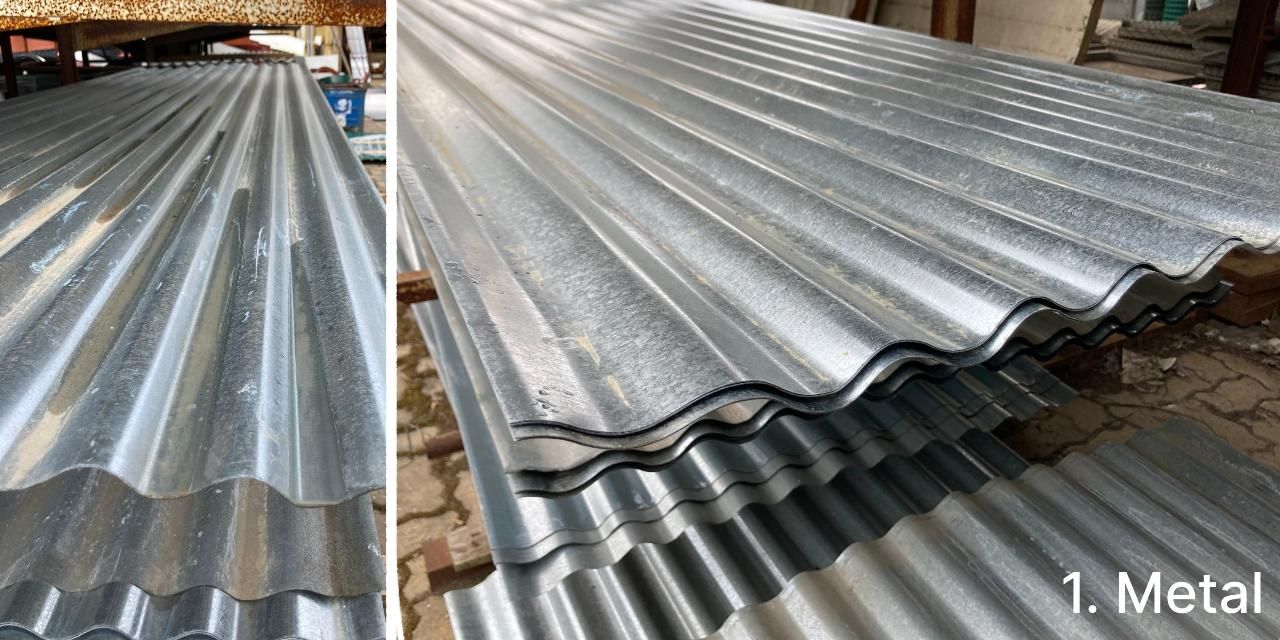
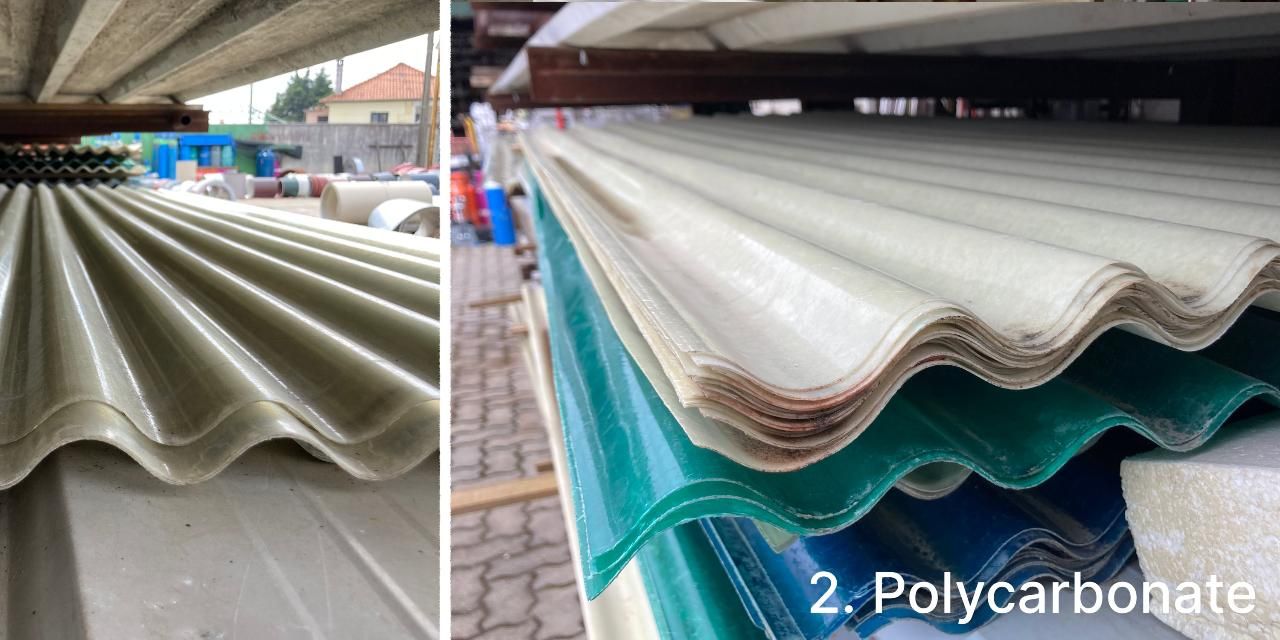
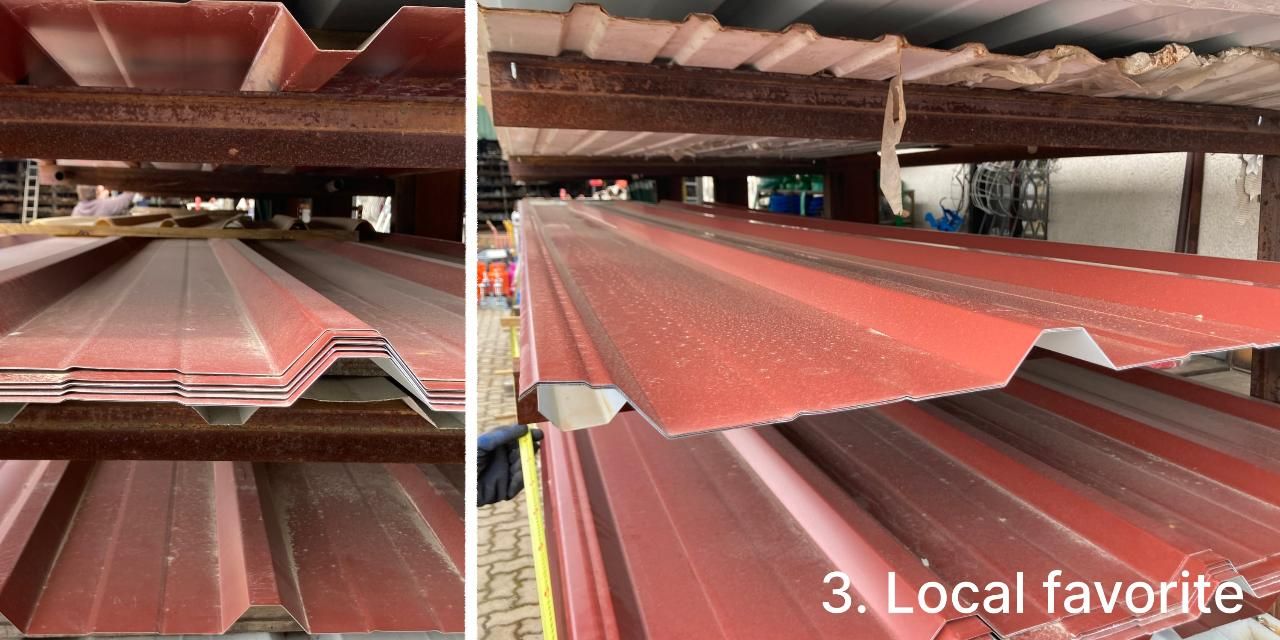
For this roof we want to keep it simple and use corrugated sheets. This will be our first structure using it. It's not our most favorite material, but it does seem like roofing options are limited. (let us know if you have suggestions beyond ceramic rooftiles) So for the sake of testing and our future structures we will give it a try. Maybe we end up loving it. We went to a local shops and found a few different options
1. The classic metal sheets with waves
2. The classic wave in polycarbonate
3. The most common local option. Flat metal.
The polycarbonate (2) was an easy one to skip, we don't want to use new plastic for a roof. The Classic metal sheets (1) are zinc coated and tend to rust fast. The local options(3) seems more durable and you can walk on it. But the main reason for choosing it is to try and see what people prefer around here. So we for the local option.
 Loading...
 Loading...
 Loading...
 Loading...
 Loading...
Roof assembled
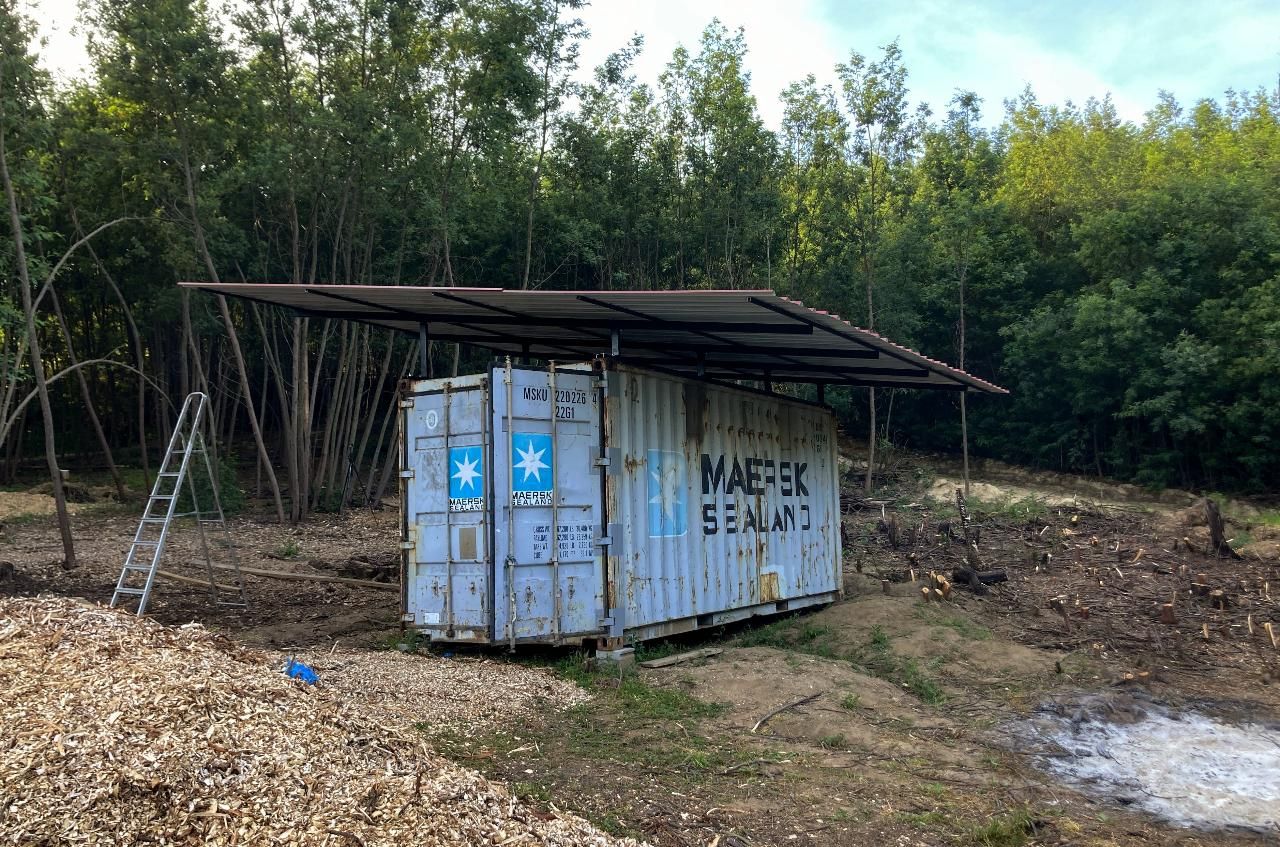
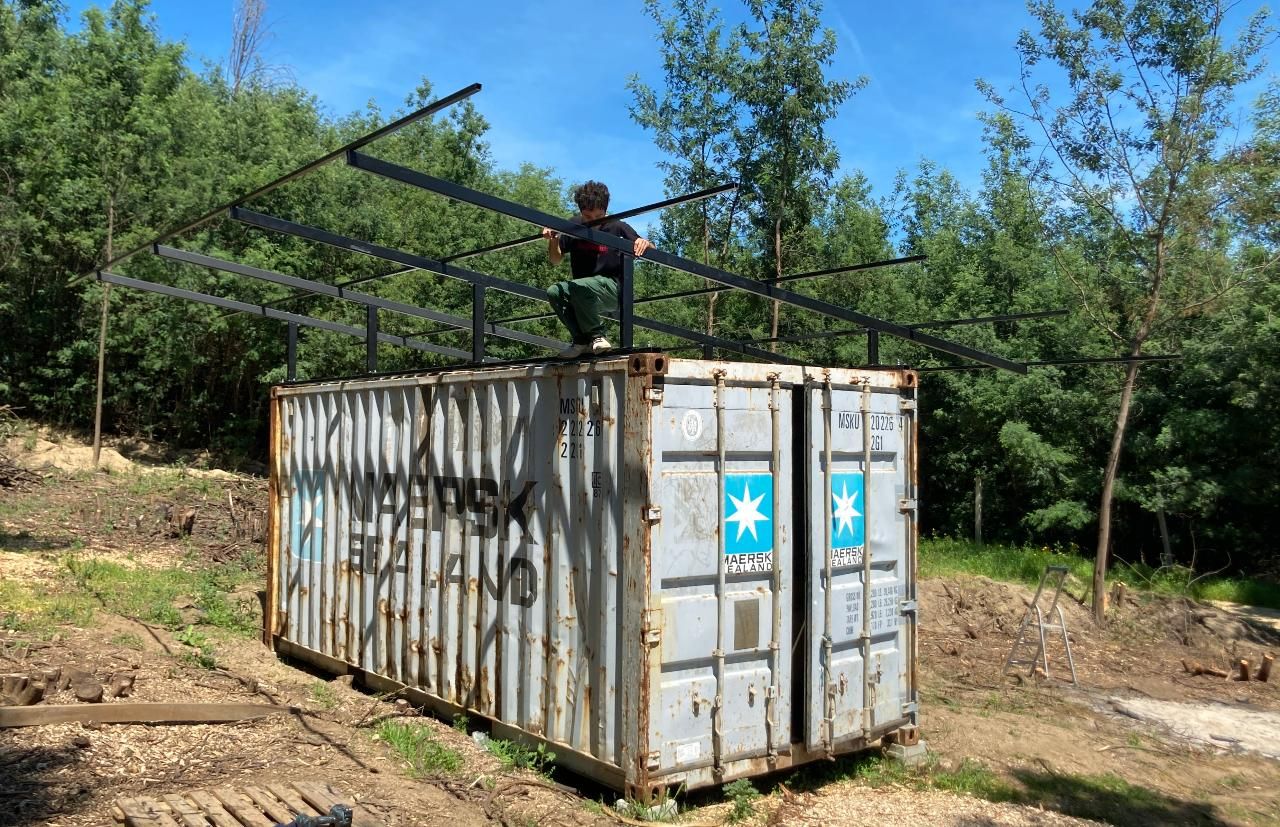
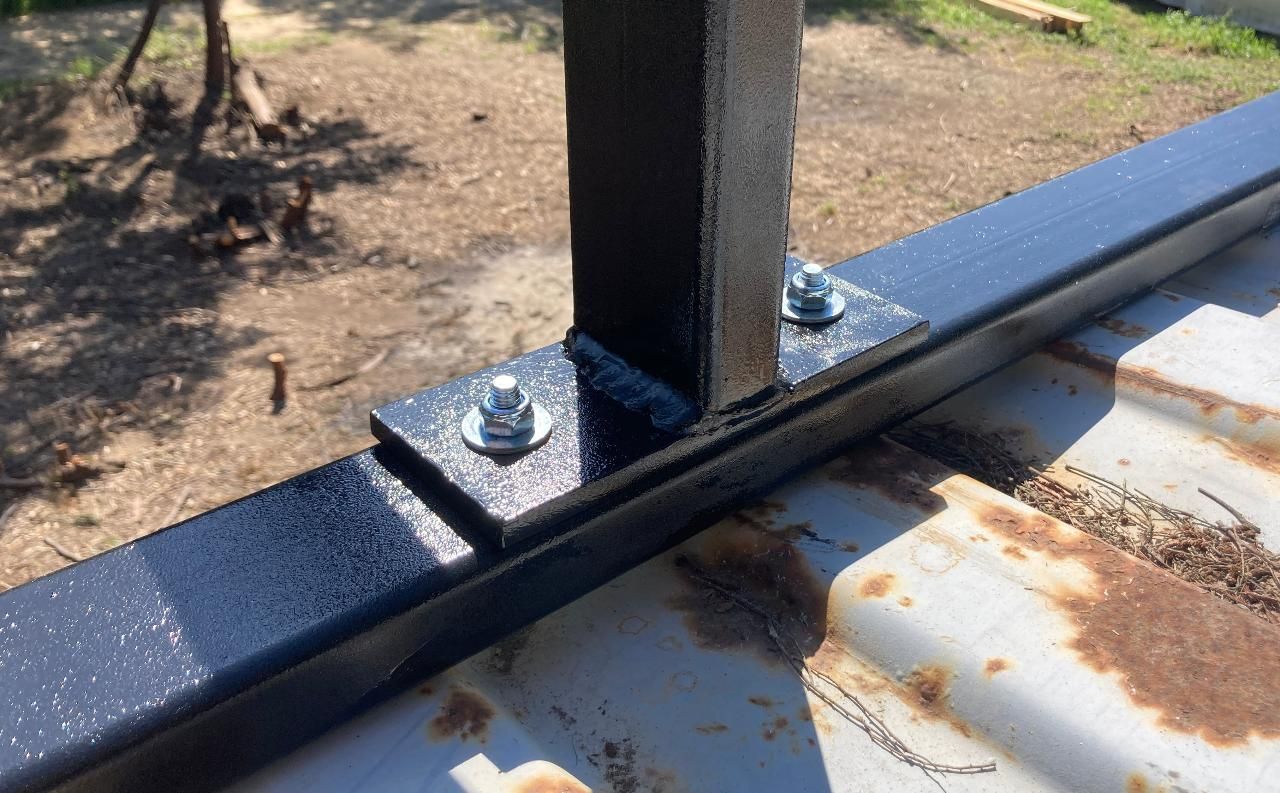
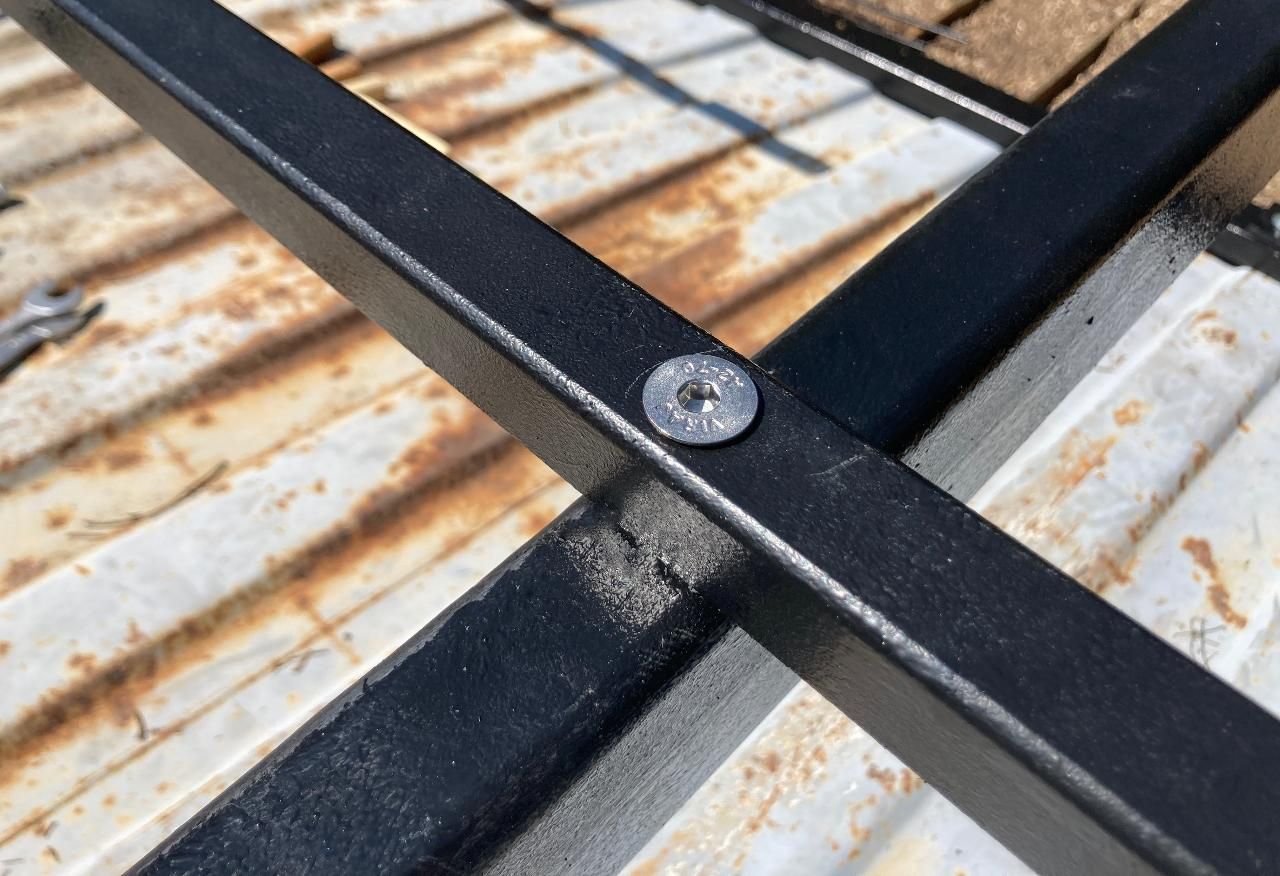
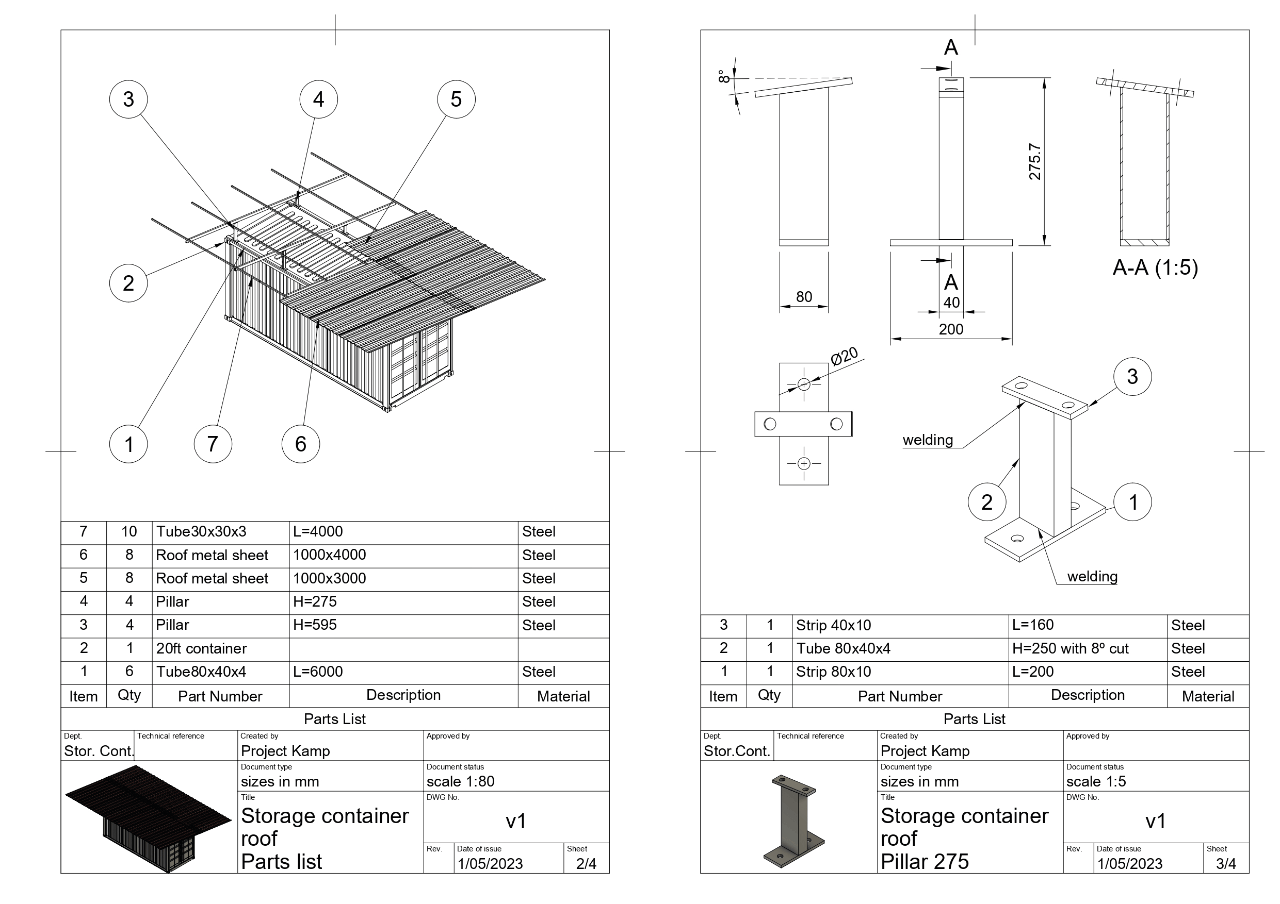
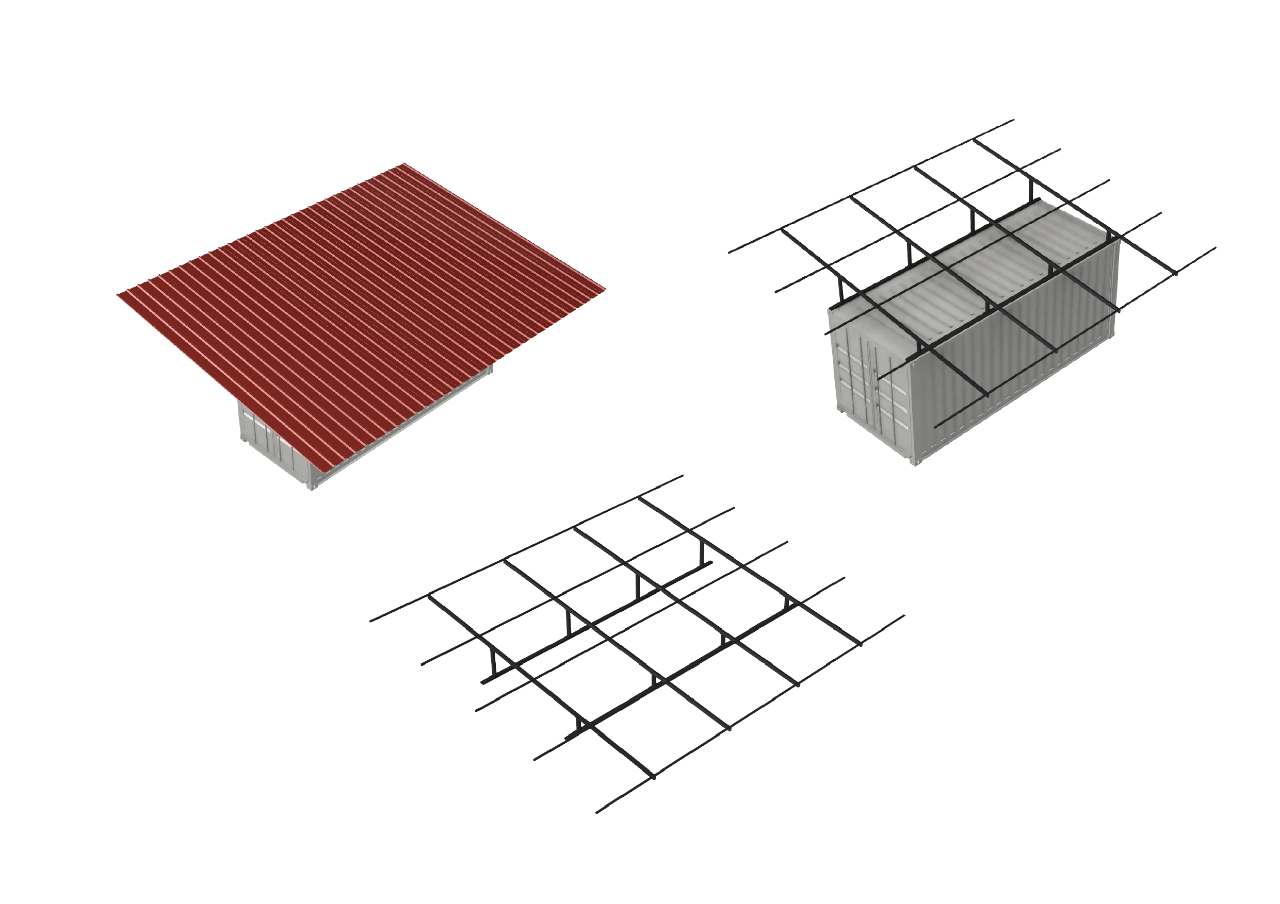
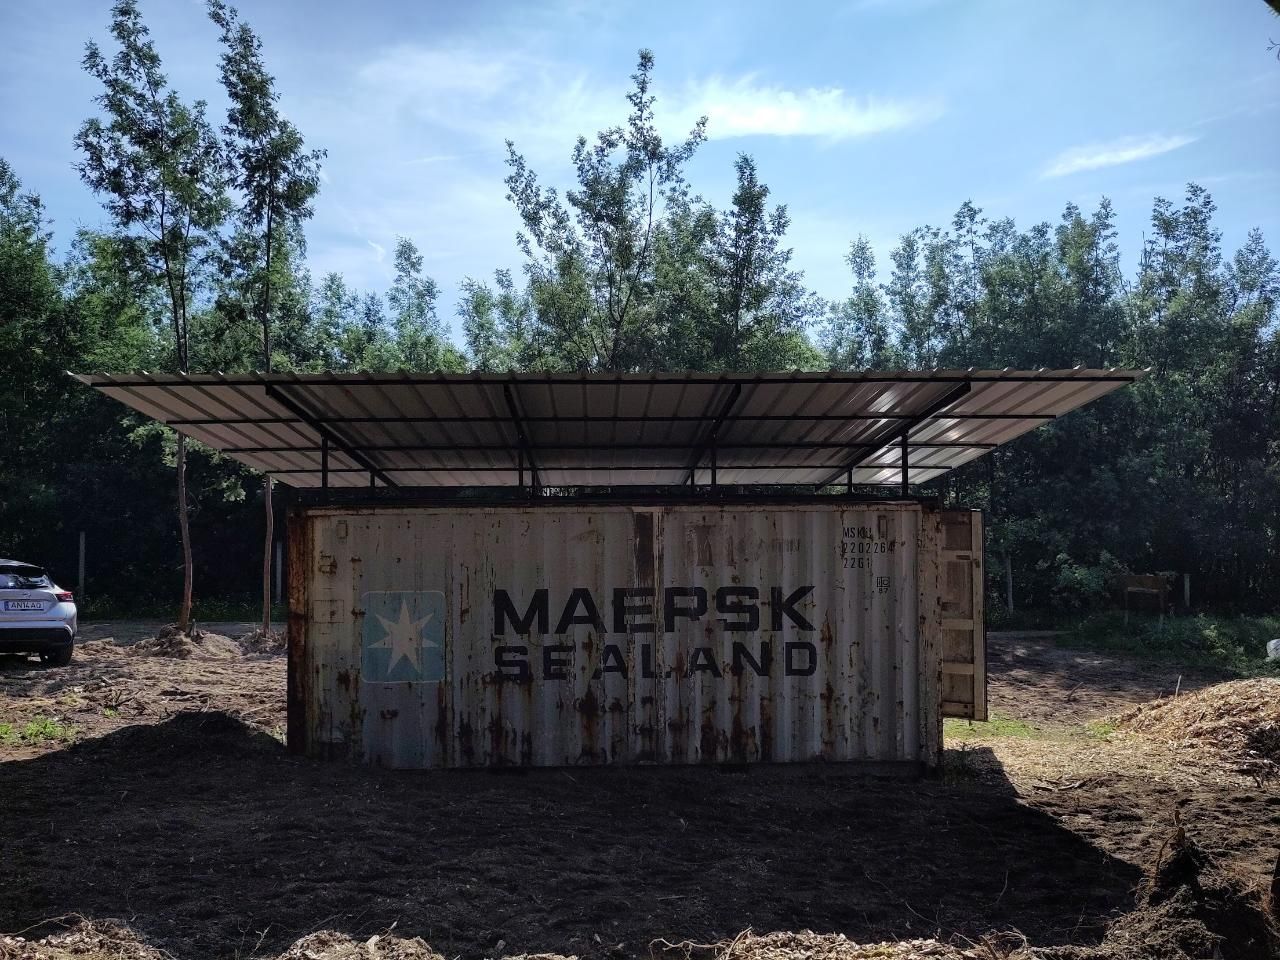
We installed the roof. It’s made from metal tubes which are mounted to the top of the container, connecting to the four corners. the 8 vertical pillars that bring the the 8° angle to the roof are welded. Besides those welds everything is connected with bolts and nuts. And we tried to keep as much of the original long beams as possible, so all the big beams are still in their original 6 meters, the smaller ones 4 meter. Was a bit challenging to work with this long heavy beams in our small workspace. But the once all the parts where made the assembly was very easy and done in one day
 Loading...
 Loading...
 Loading...
 Loading...
 Loading...
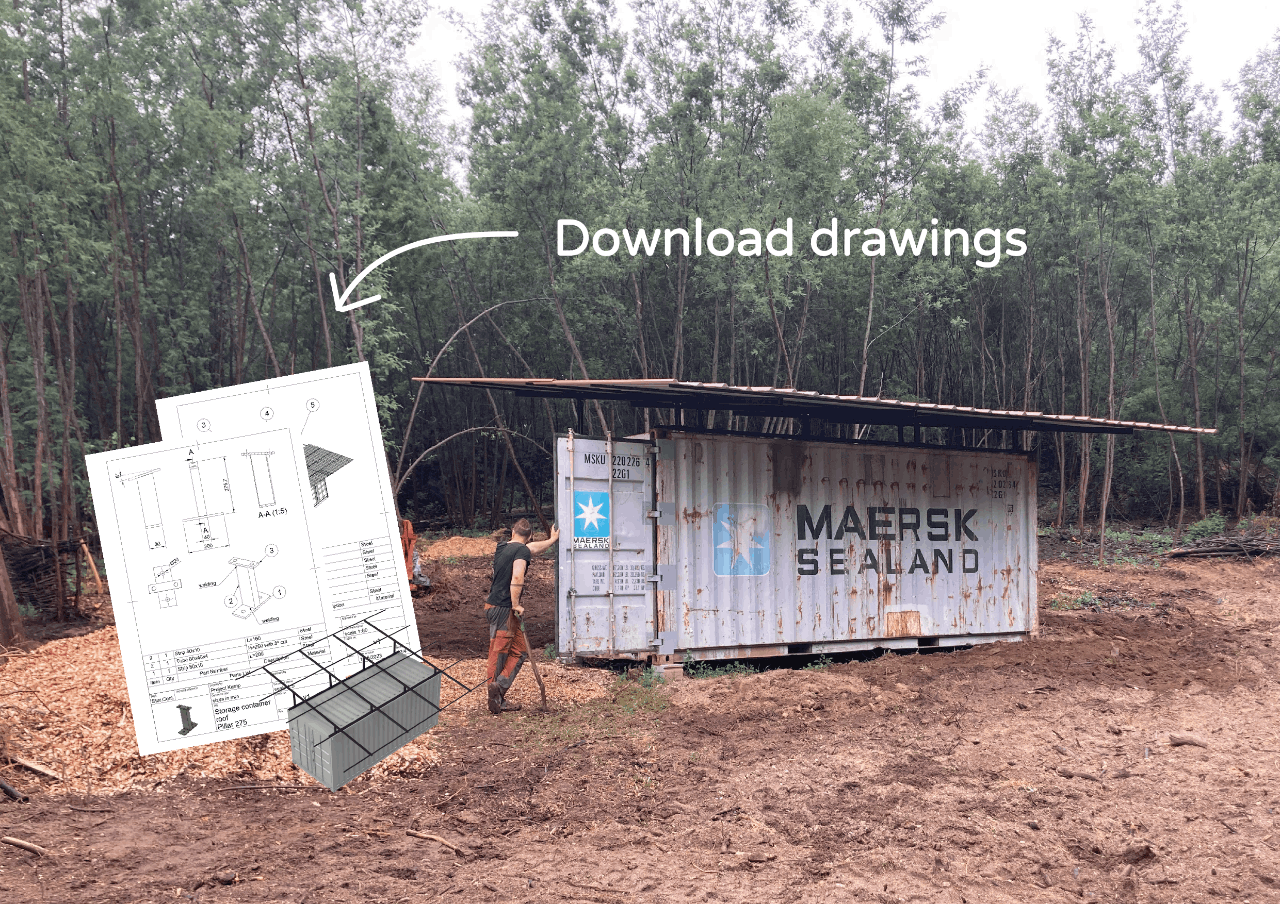
Download 3D files and drawings
Hi everyone. Here all the files to download
It contains:
- CAD file
- Bill of material
- 2D drawings
Let us know if you have any questions about it.
We’re just getting started documenting, always up for improving it 🙂
 Loading...
 Loading...
 Loading...
 Loading...
 Loading...
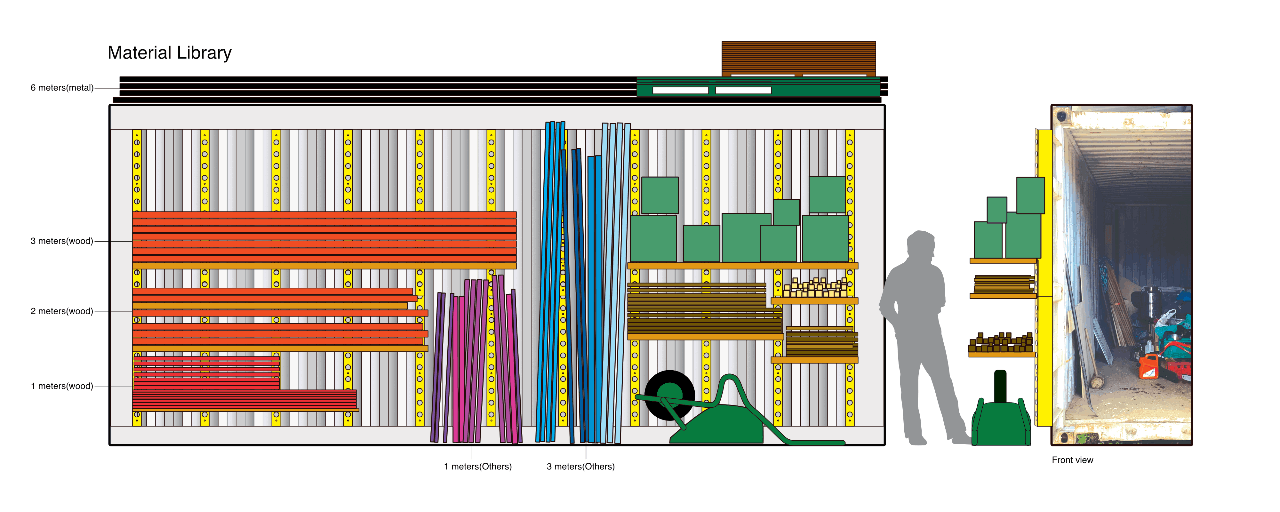
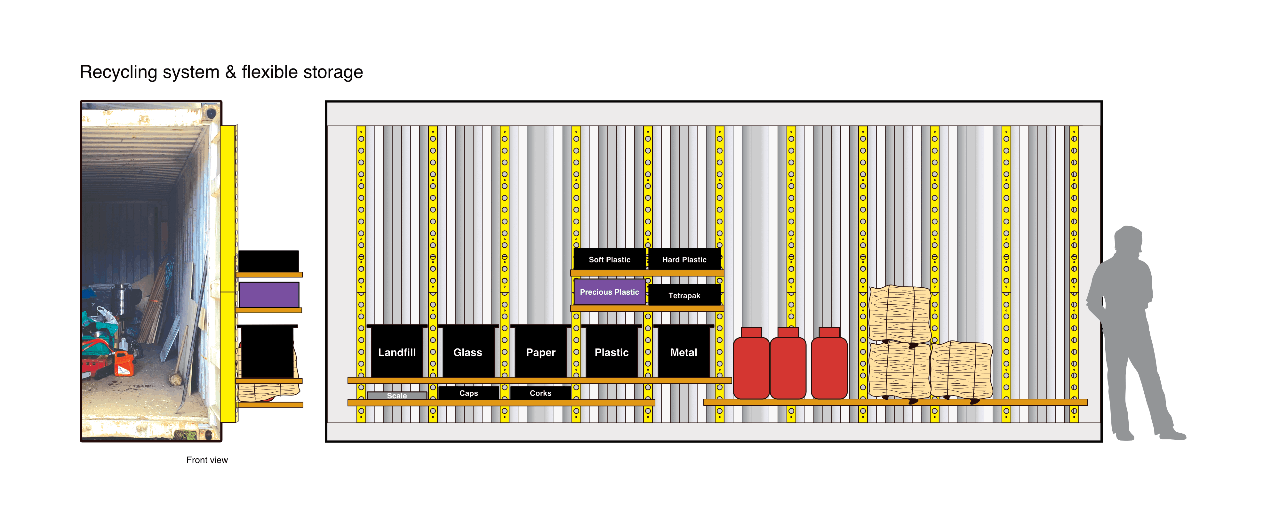
Planning for the shelf system
To fully utilise all the dry space outside the storage container,
we have made some plans to gather all the materials from the white tent and under the office(small ruin),
to be placed outside with a new shelving system.
 Loading...
 Loading...
 Loading...
 Loading...
Installing the storage shelves
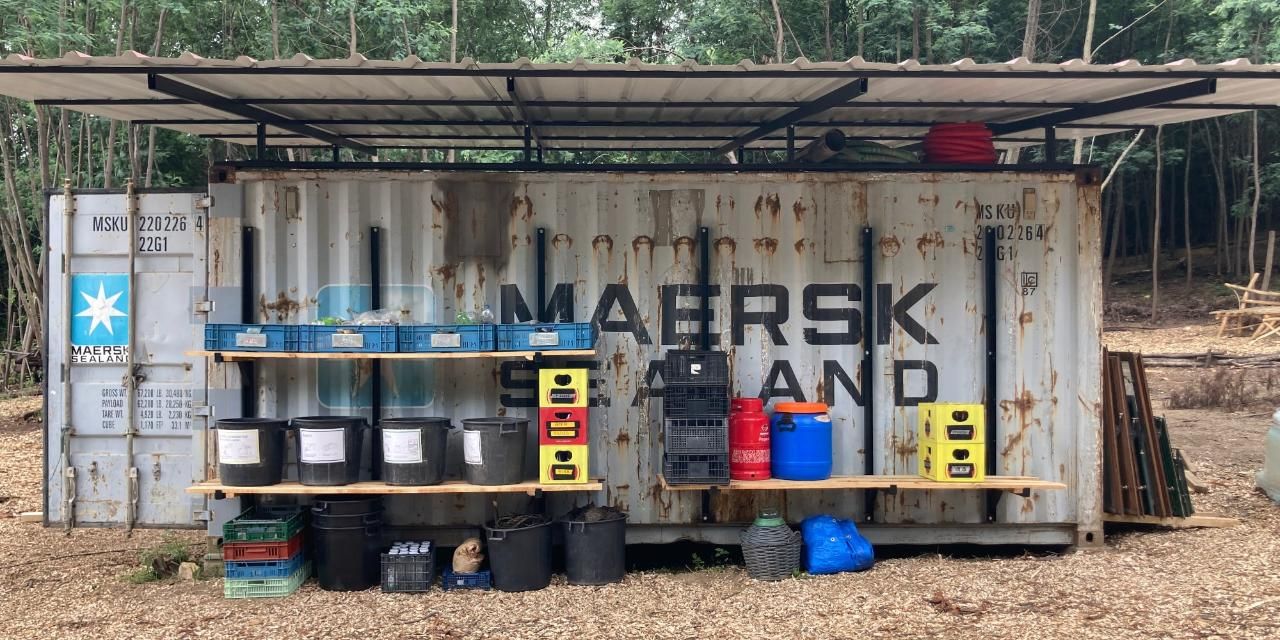
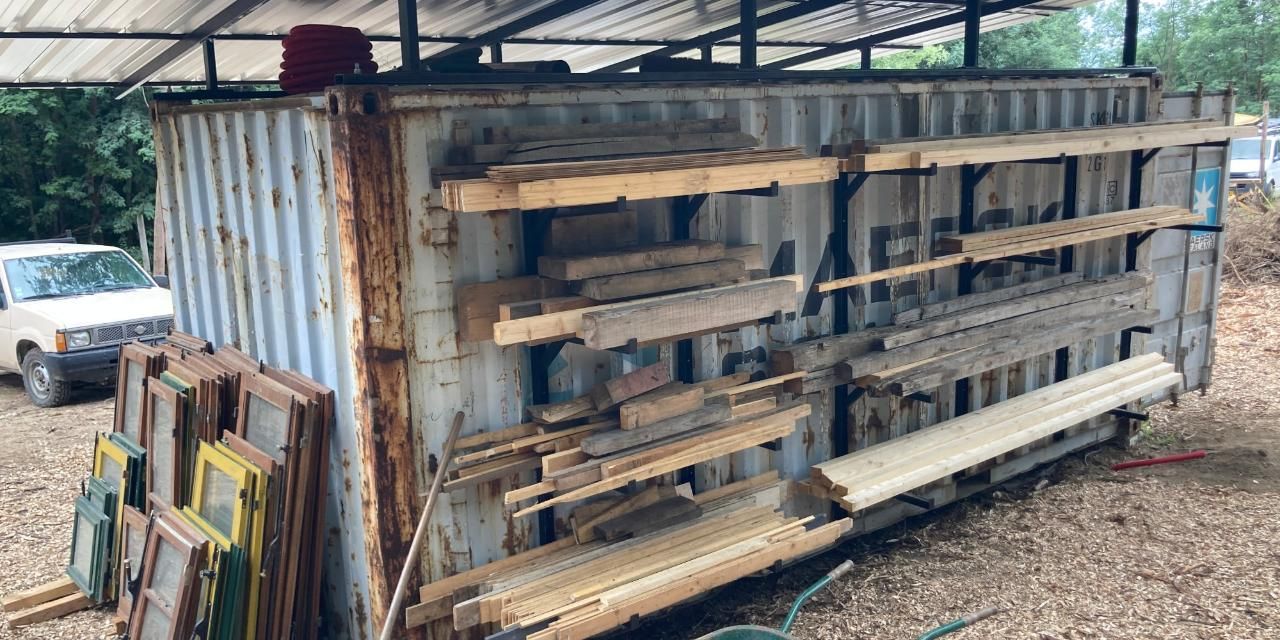
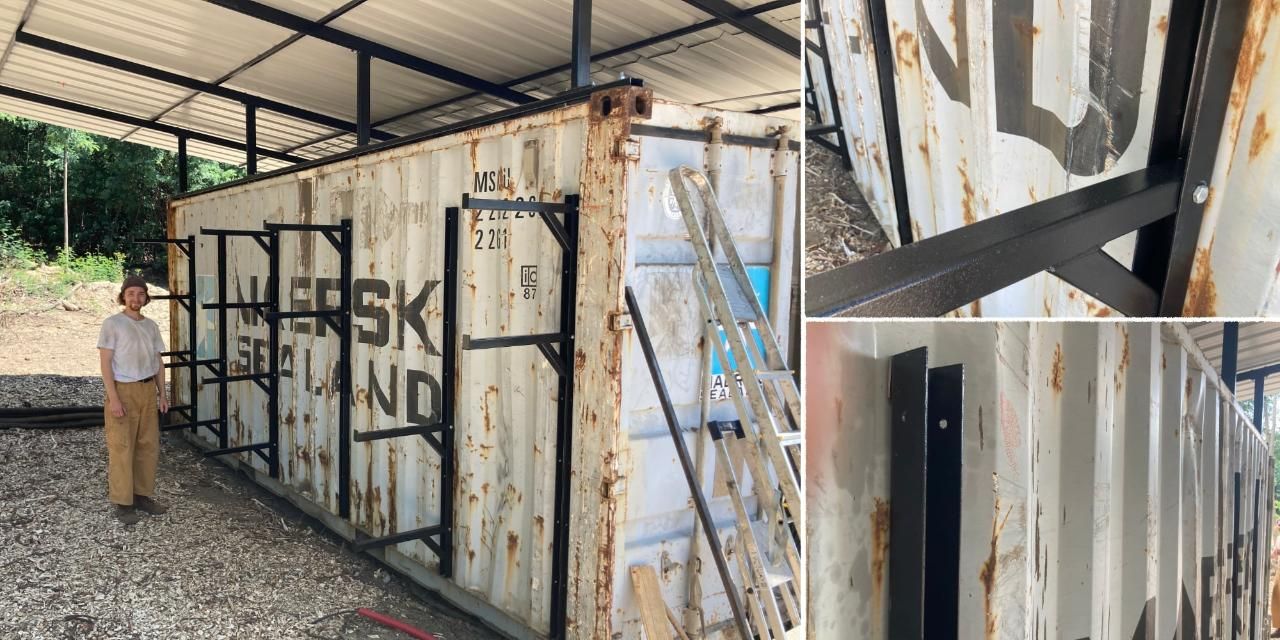
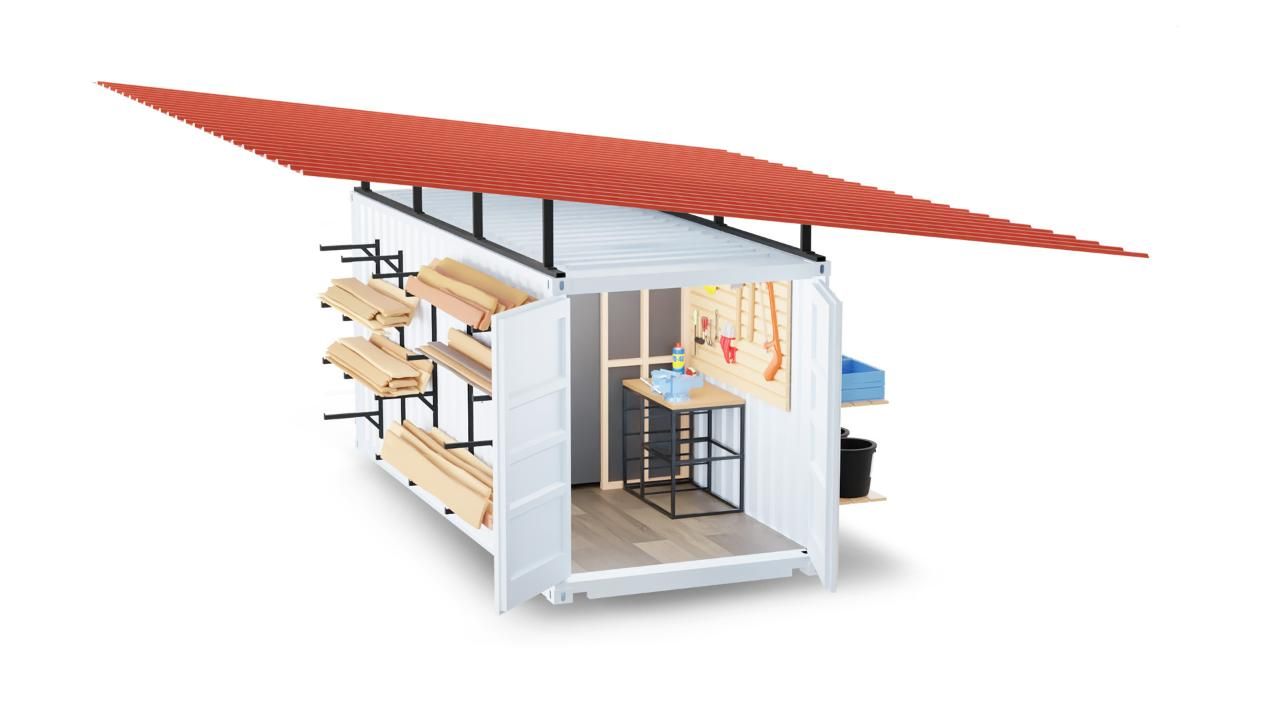
We wanted to design and build storage system that enables to storage wood on the other side of the container and waste on the other side. Currently we don't have proper way to storage wood which is problem since incorrectly stored wood will bend and also difficulty was to see how much and what type of wood we currently had.
We started by looking into already made storage systems to search and find if there would be something that suits our needs. We want the system to be simple enough to build with the equipment that we have to make it easier for others to replicate. Material should be something that is available "everywhere" and we wanted the system to be changeable to the needs. Since not everyone needs to store wood and waste)
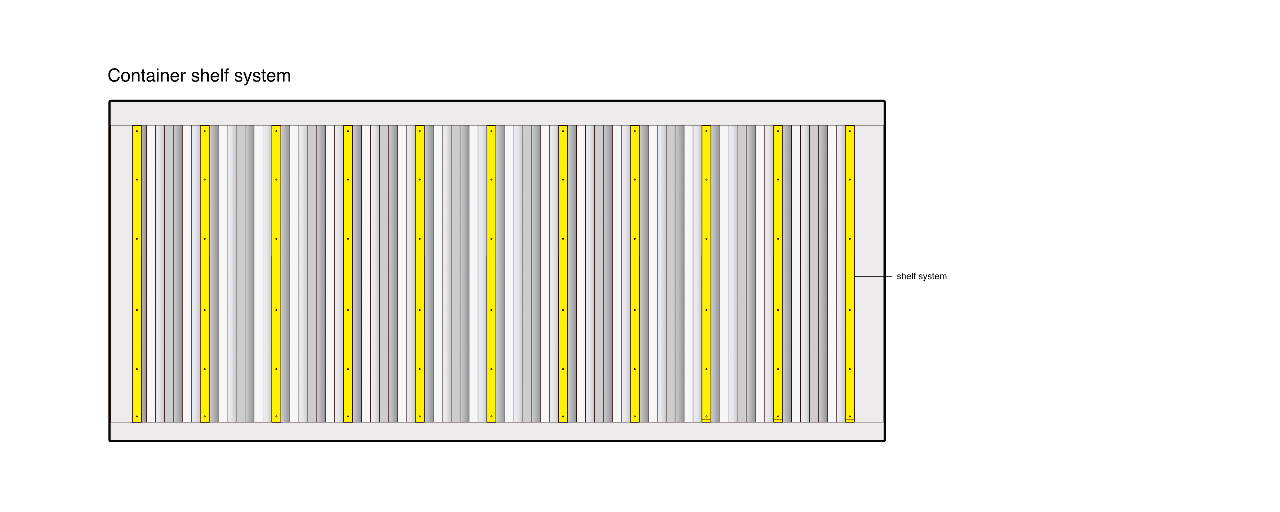
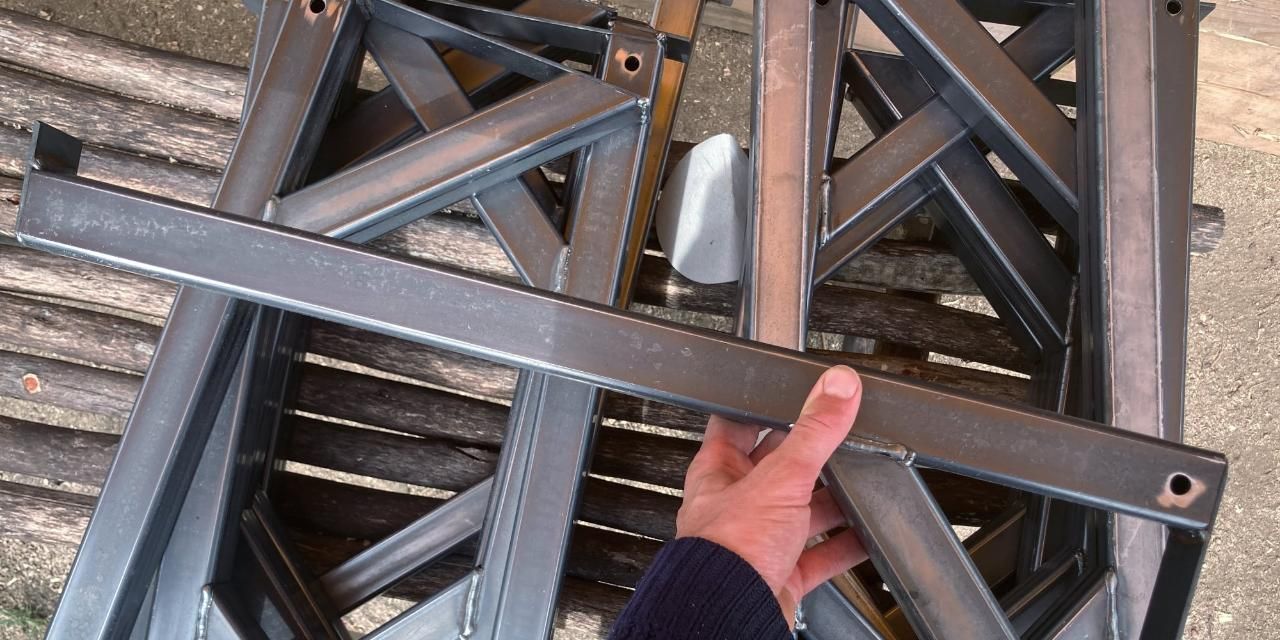
We ended up using standard U-beam profile with rectangular tube to keep it replicable. Most accuracy is needed drilling the holes.
Our container wasn’t the straightest one, so we needed to hammer it a bit and in the end, we ended up using spacers between the beams and a container to make everything straight and even.
Most challenging part was assembling the system to the container. Using u-profile for similar storage systems would work better it the mounting wall is not to bumpy. So far system seems to be working, will see how it holds up in the longer run.
 Loading...
 Loading...
 Loading...
 Loading...
 Loading...
 Loading...
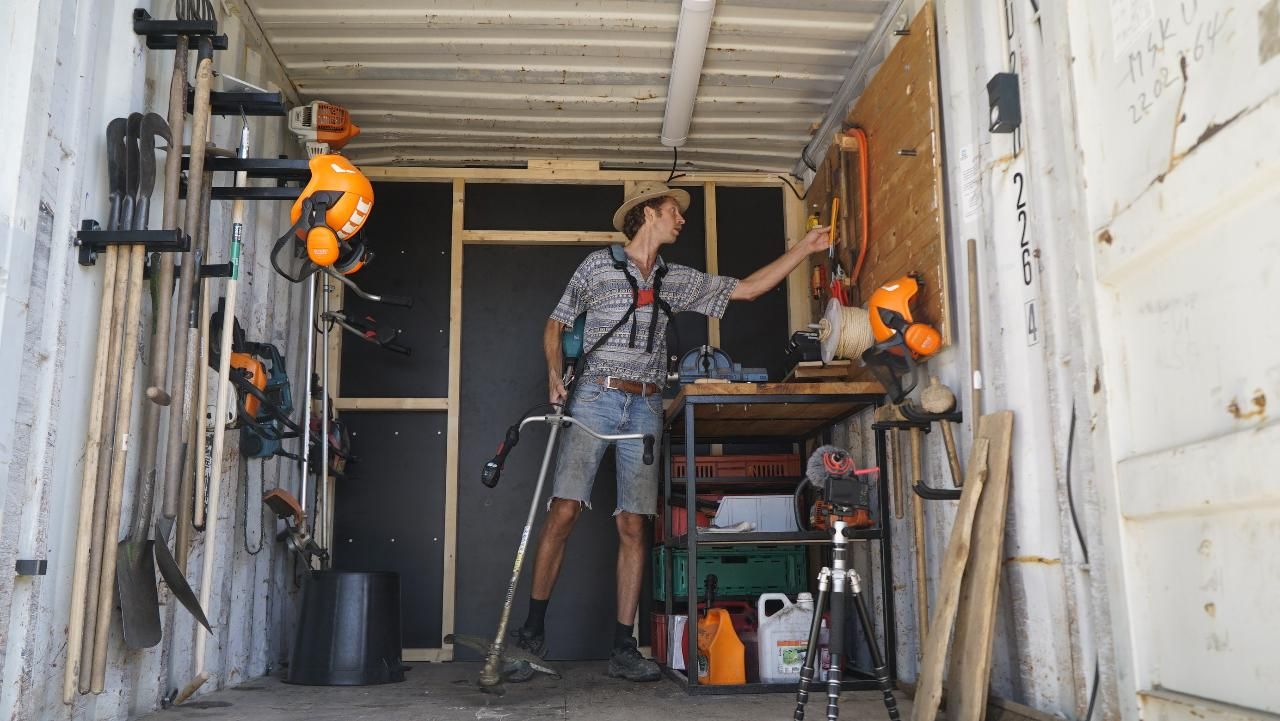
Garden tools + Storage inside finished
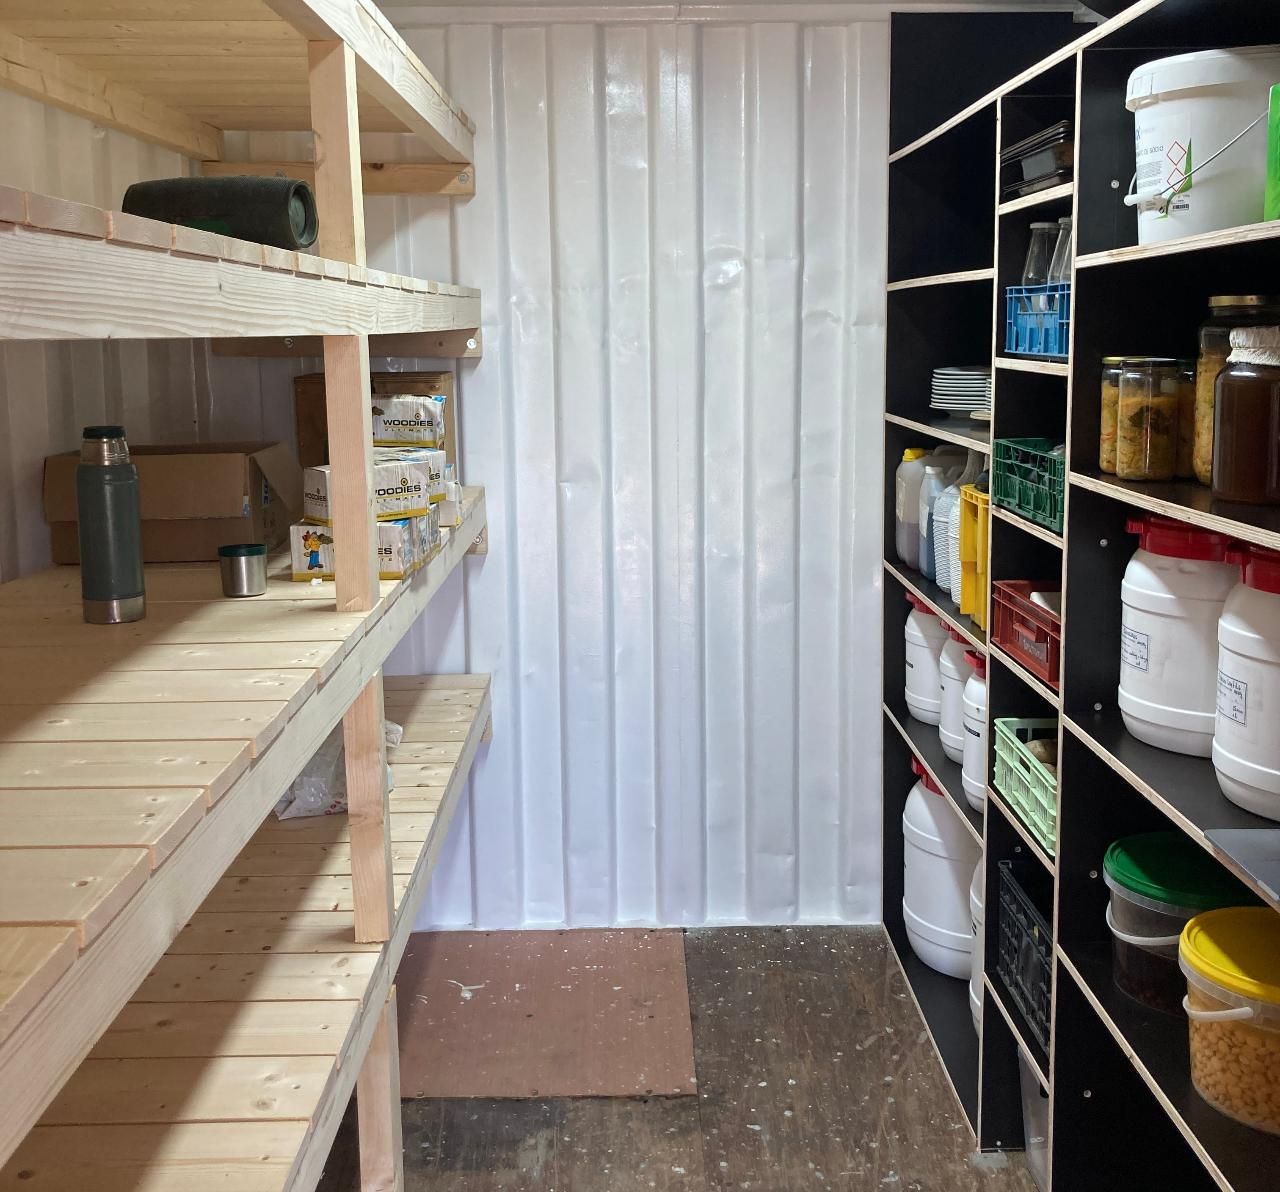
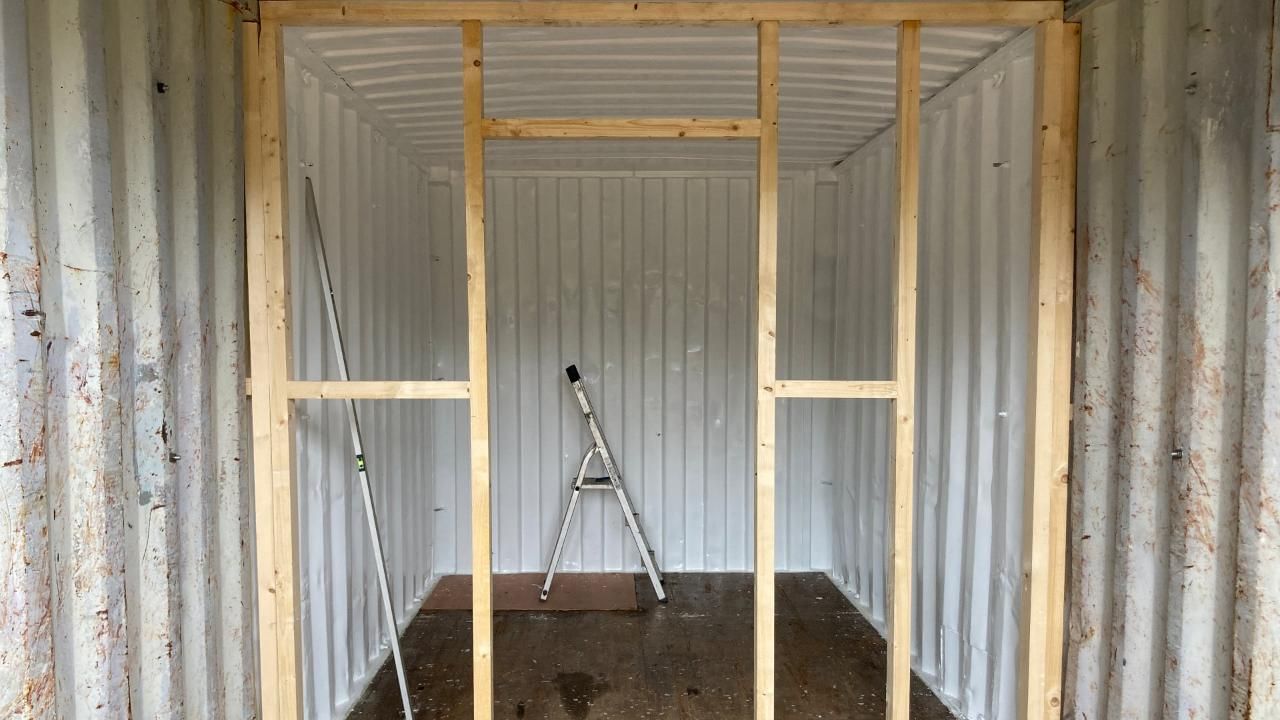
On the inside we divided the container. Added a wooden frame with door and used plywood to close it up and make it mouse proof. We also painted the backside clean white as the containers has two quite different areas.
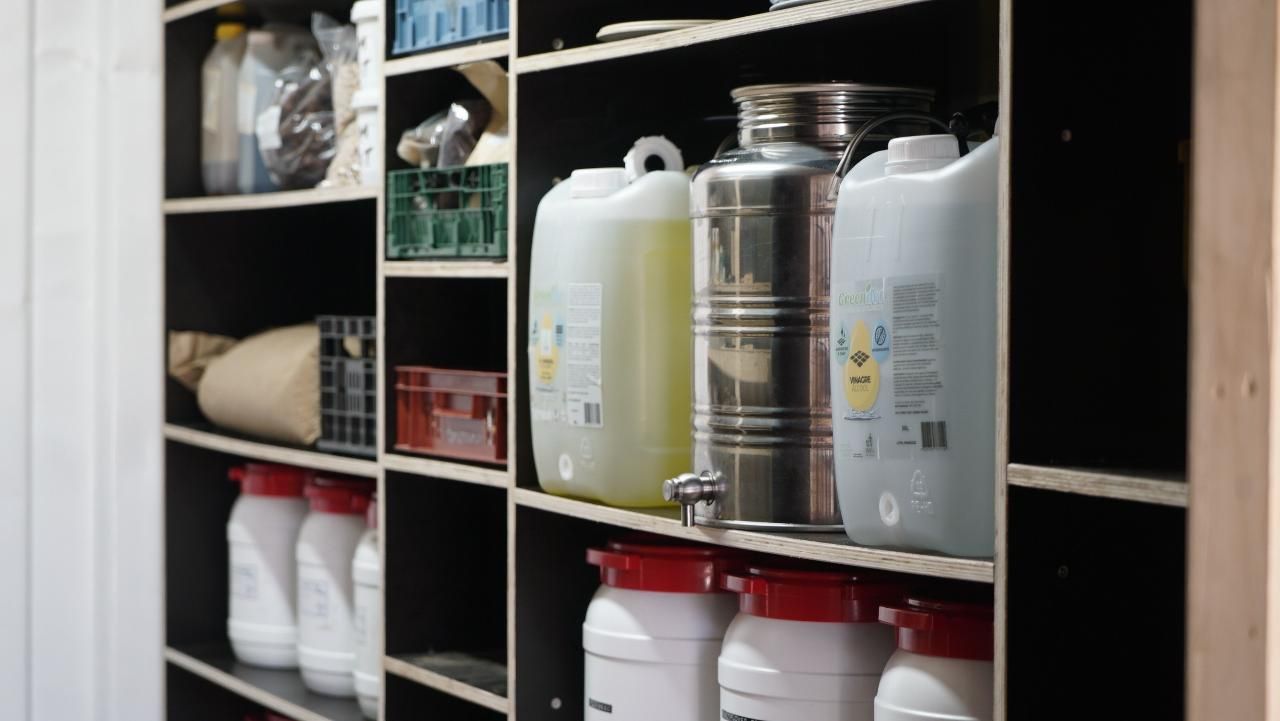
1. The back part is used as storage for food and the workspace stuff.
We store our bulk food, preserved food, new towels, brushes etc. It’s stored in a plywood shelving system which makes it easy to clean (in case some food leaks) The other side has rougher shelves made with pine wood to store workspace items like screws, cutting disks, paint etc It also has storage for seasonal things like our tents. The bag part shouldn’t be used often, just by people in the team to stack up supplies once a week.
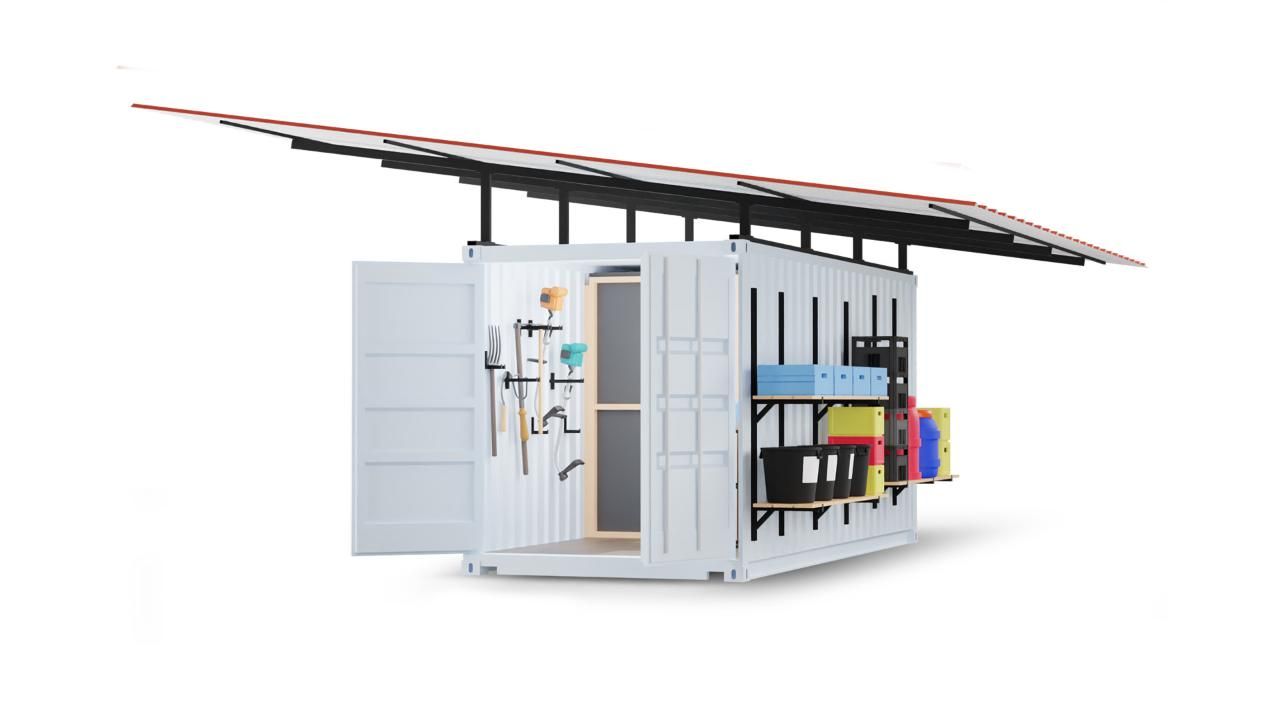
2. The front part has all the garden tools. Most tools are hanging to keep a good overview, the holders are made with leftovers from the table. This area is a bit rougher and used on a daily base.
Watch video here: https://youtu.be/m37pjG7SvR0
 Loading...
 Loading...
 Loading...
 Loading...
 Loading...
 Loading...
Need help for visuals and renders!
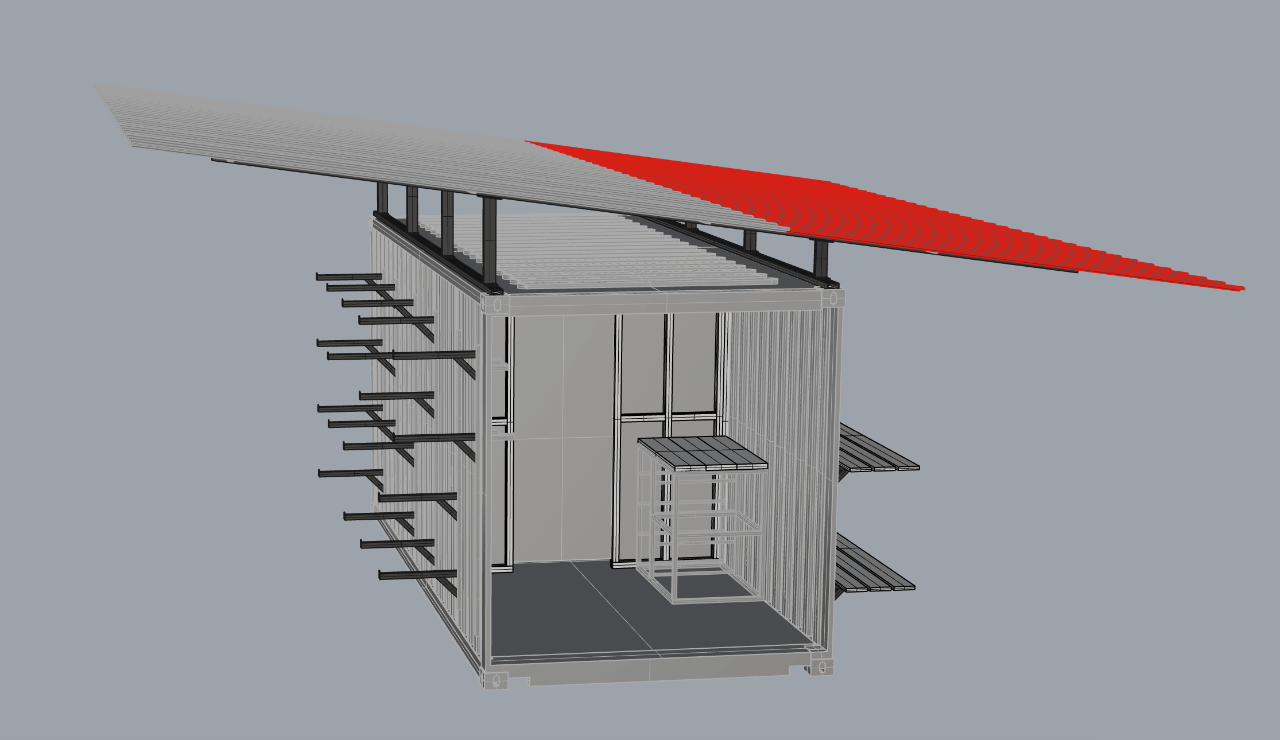
We are working on our long term documentation. For this we want to get a good visual of each project. Is anyone up for helping out? You can download the assembled model of the container here: https://drive.google.com/file/d/1lovcSOs0-Jq618qcTZa0E3-zwNghn8Dr/view?usp=drive_link
Ideally done in Blender so we can keep them accessible and Open Source.
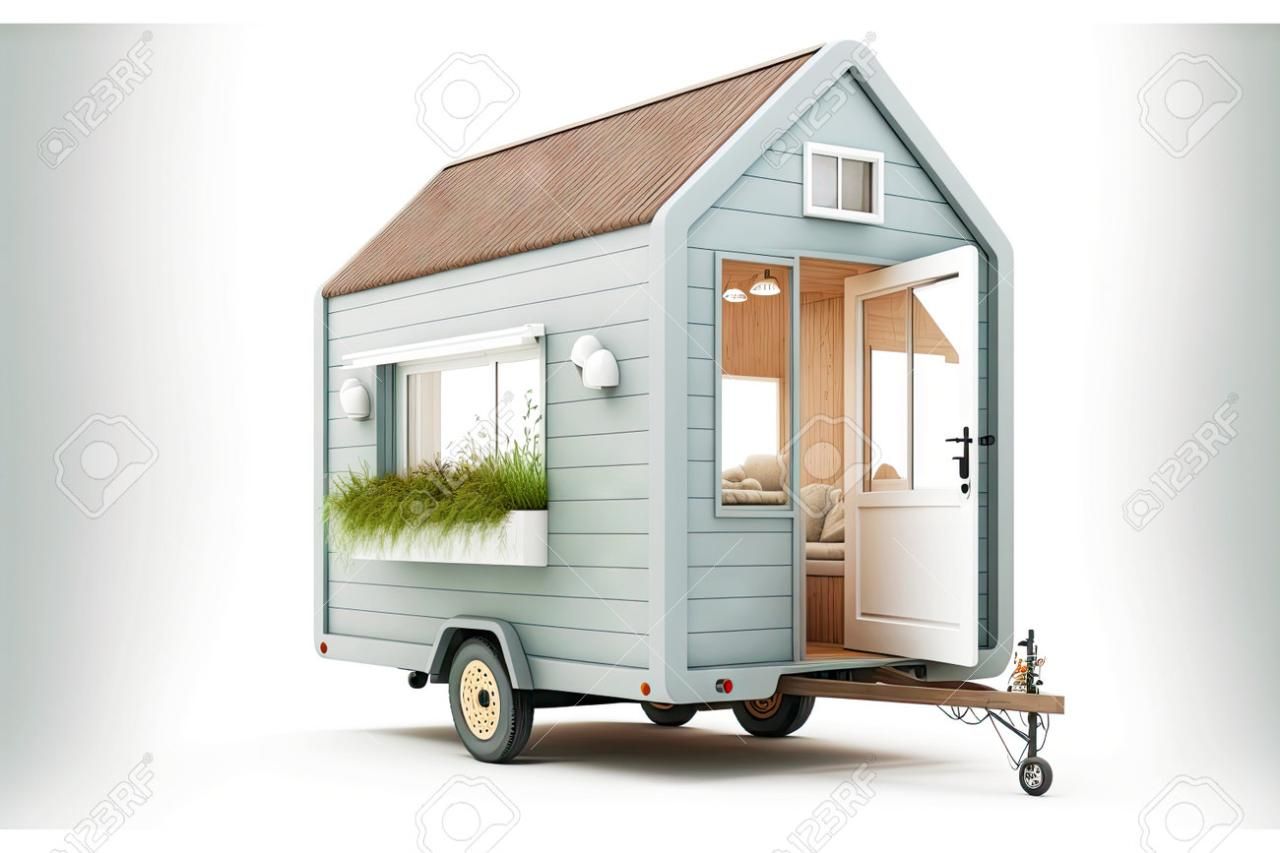
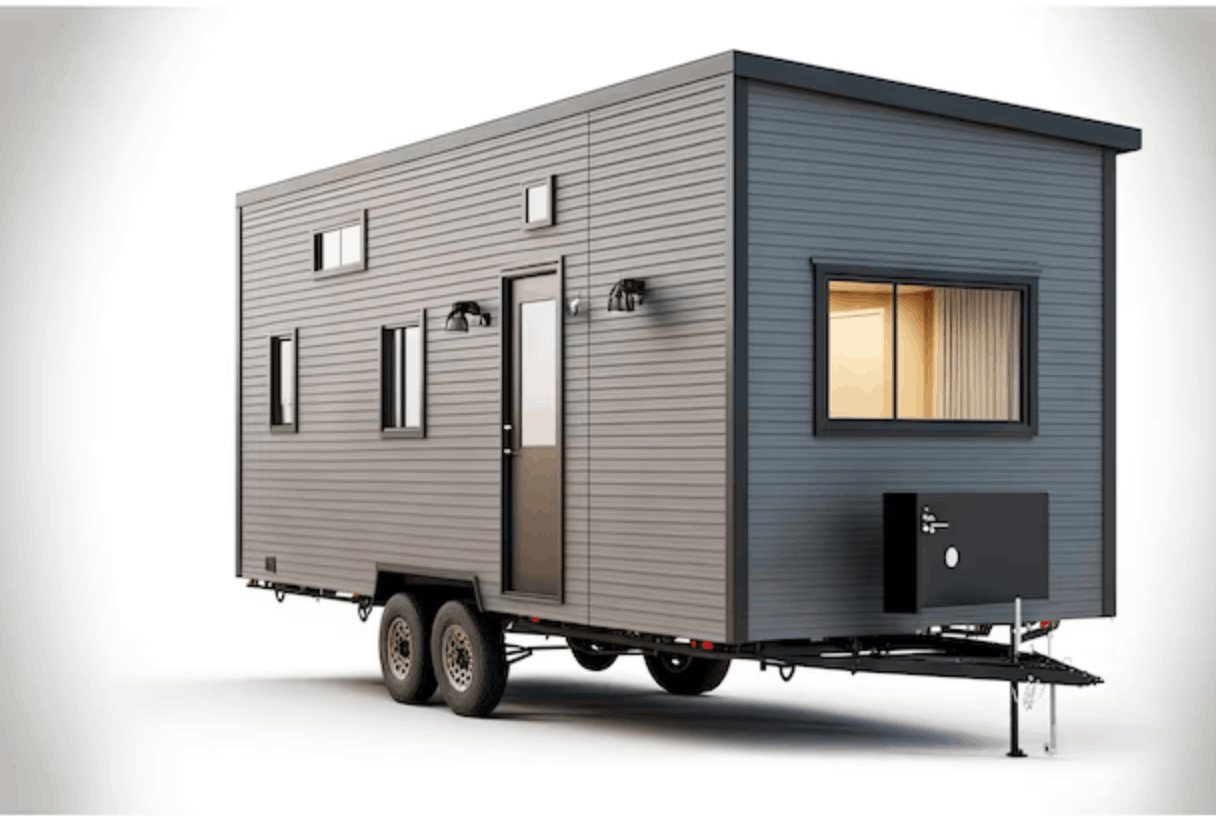
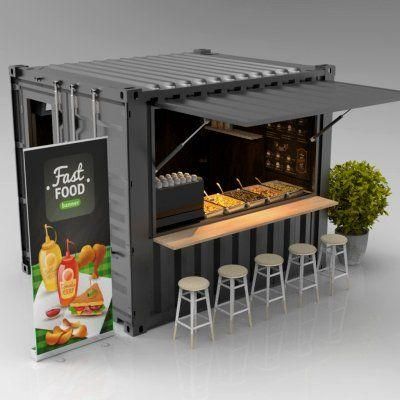
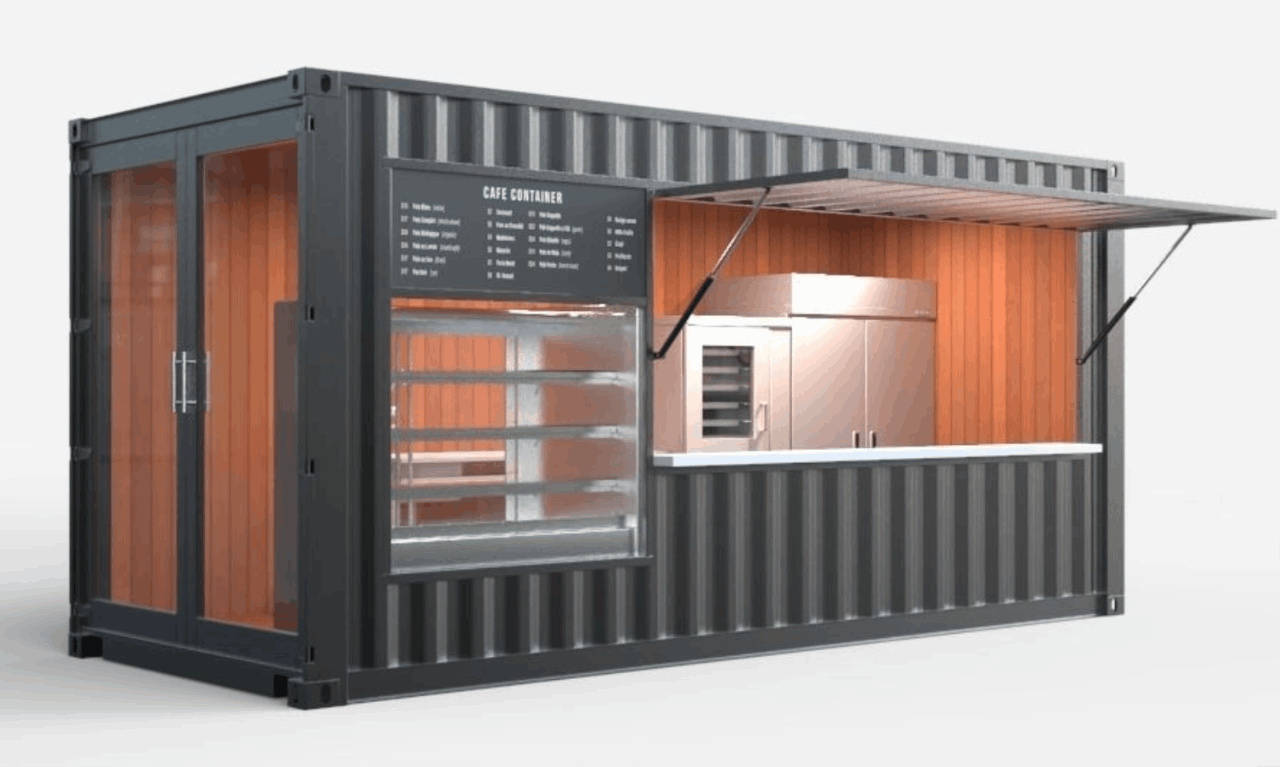
Below some pictures of the model and what could be a good render style.
What we are looking for:
- White background
- Colors and textures
- Bonus: Some items added like wood, buckets tools etc.
 Loading...
 Loading...
 Loading...
 Loading...
 Loading...
 Loading...
First visuals for documentation
Created 2yCreated over 2 years ago
We got the ball rolling and made some visuals to figure out what style we want to use for this project and future documentation. Attached two different options. Let us know what you prefer and if you have other examples you like.
Drop a comment below if you want to help out in Blender :)
 Loading...
 Loading...
 Loading...
 Loading...
-18af798ff6d.png?width=1280&resize=contain)
 Loading...
-18af79931f2.png?width=1280&resize=contain)